
Last updated November 2, 2026
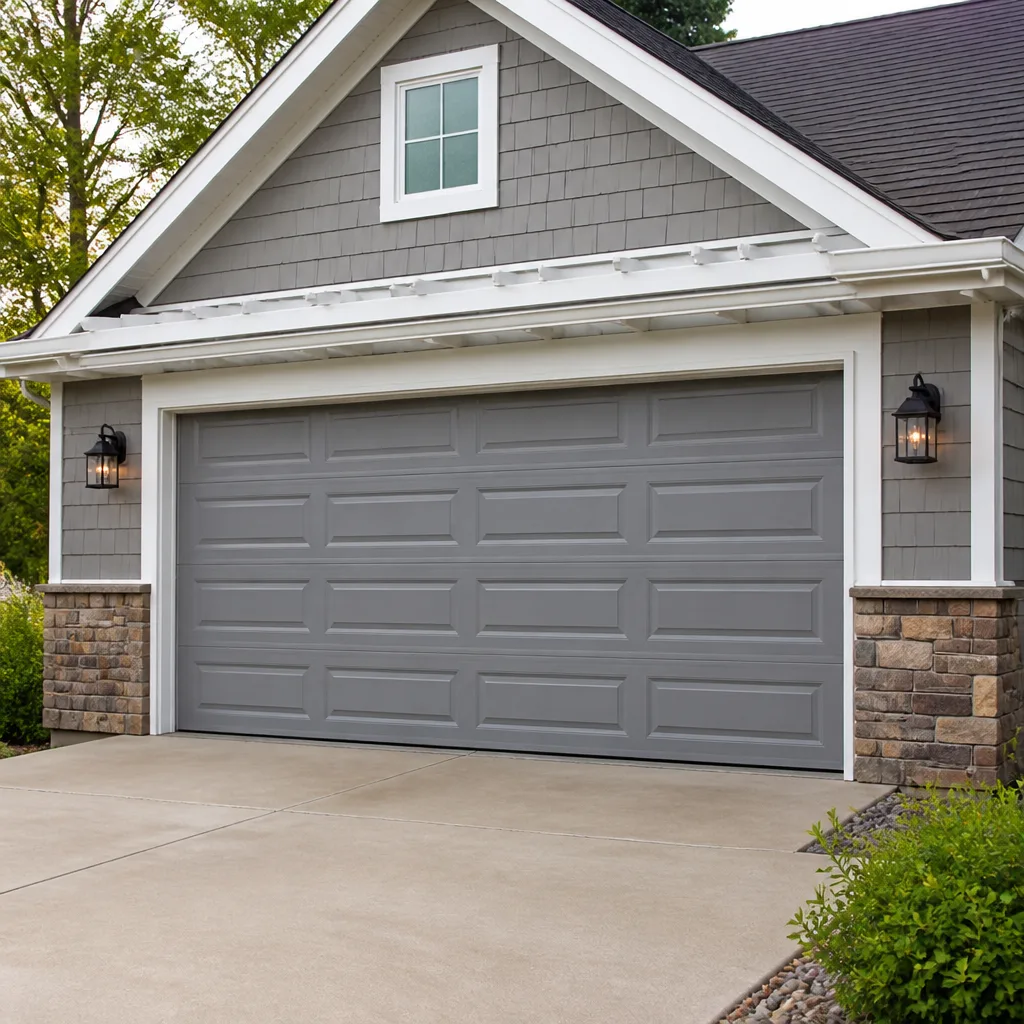 Raised-panel steel
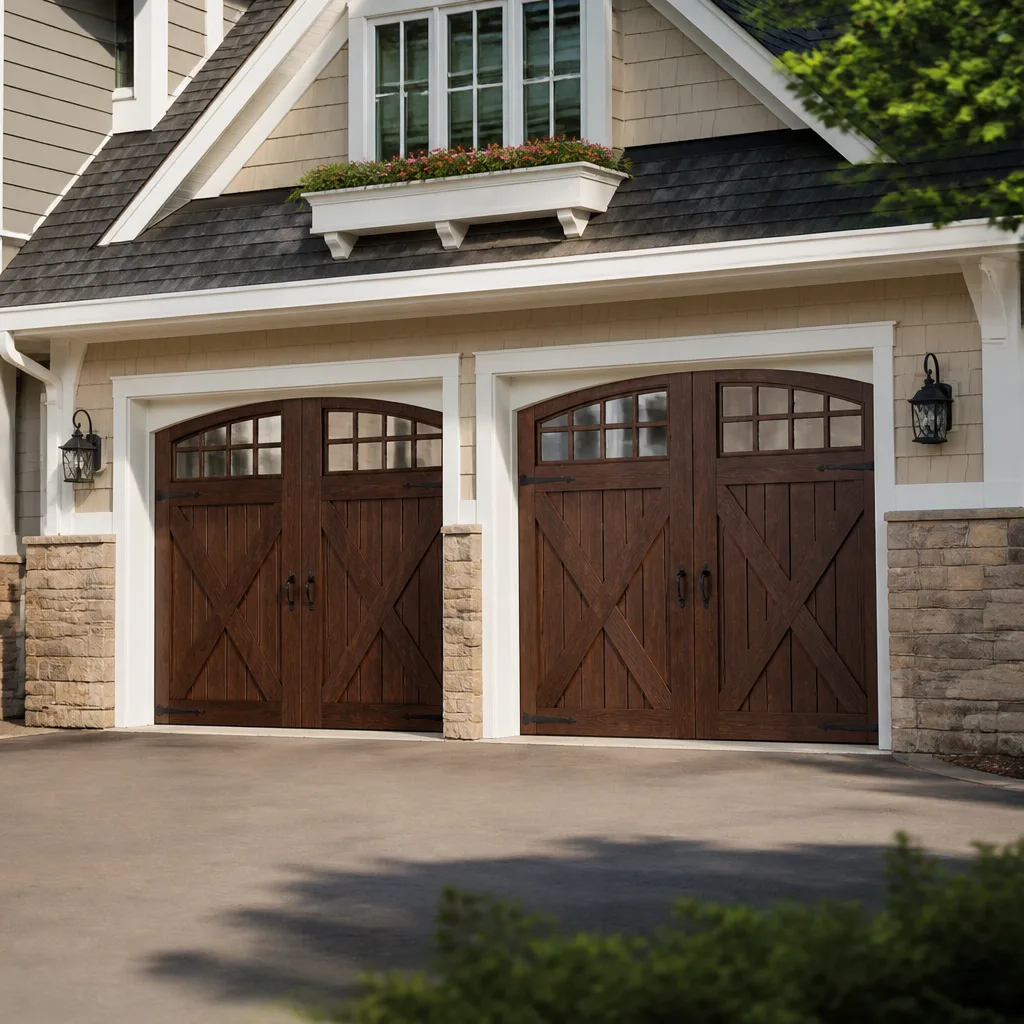 Carriage house
 Modern flush
 Full-view glass
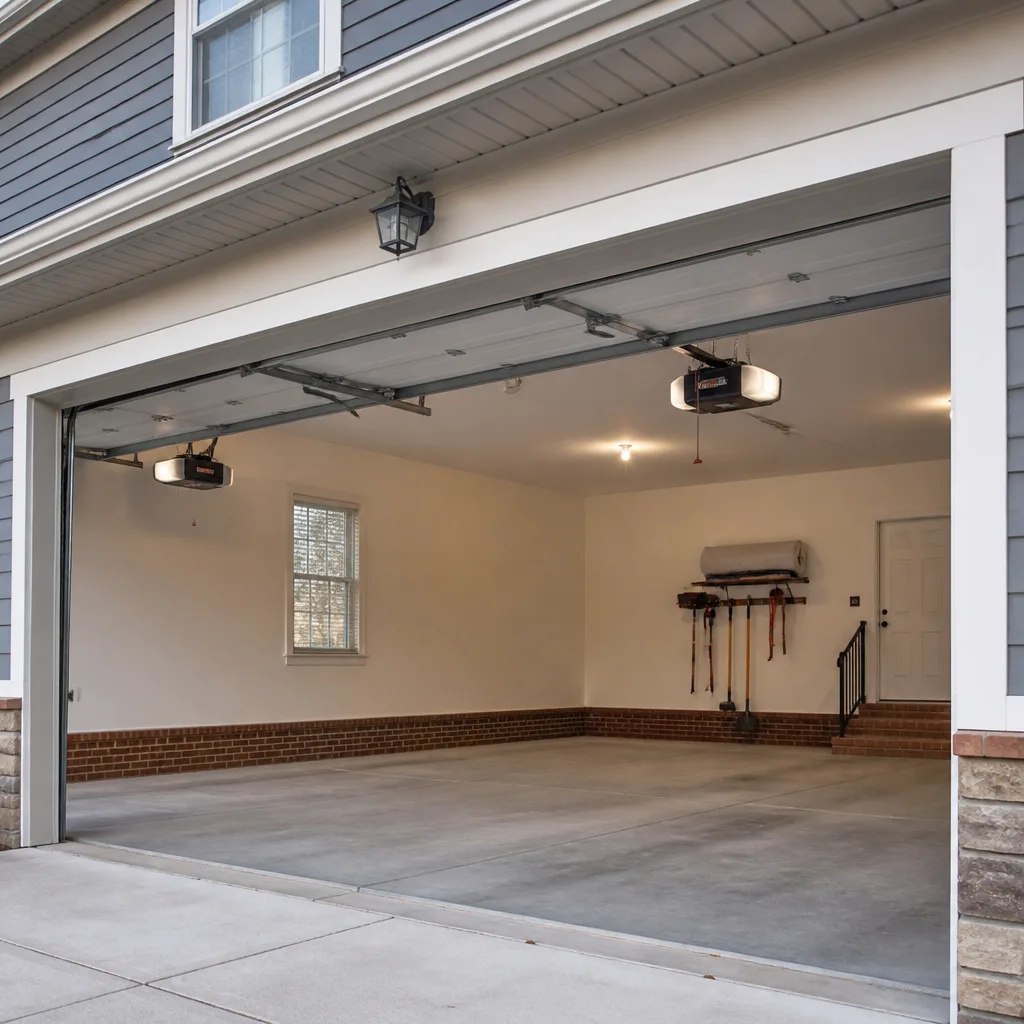 LiftMaster openers
 Chamberlain openers
Full 25-point door and opener safety check with every visit - springs, cables, rollers, tracks, and your LiftMaster or Chamberlain opener included
You get a price before we start. It does not change when the truck arrives.
Get your free estimateDIY vs Professional Garage Door: The Midway Homeowner’s Decision Guide
A torsion spring on a standard residential garage door stores roughly 100 foot-pounds of torque when fully wound. That’s enough stored energy to break bones in a hand, slice through tendons, or send a steel winding bar through drywall if it slips mid-turn. Every year, homeowners in Midway and across California end up in urgent care after deciding that a YouTube tutorial and a socket set are all it takes to replace one. This guide is built to give you what most advice doesn’t: a task-by-task breakdown of what’s genuinely safe to do yourself, what isn’t, what each path actually costs, and how to split the work intelligently if you want to save money without gambling on your hands. We’ll cover tool requirements, real pricing for the Midway market, insurance considerations specific to California homeowners, and the prep work you can do yourself before a technician ever arrives.
Quick Answer
Most garage door maintenance tasks are safe for a careful Midway homeowner to handle, including lubrication, sensor realignment, remote programming, and bottom seal replacement. Torsion spring replacement, cable re-drumming, and track realignment are not safe DIY projects, and attempting them without professional tools and training carries meaningful risk of serious injury. The smart middle path is handling simple upkeep yourself and calling a specialist for anything involving stored tension or structural repair.
Styles & brands we work with
- Raised-panel steel
- Carriage house
- Modern flush
- Full-view glass
- LiftMaster openers
- Chamberlain openers
Table of Contents
- What’s Actually Safe to DIY: Four Tasks Worth Doing Yourself
- What Requires a Professional: Torsion Springs, Cables, and Tracks
- The Real Cost Comparison: DIY vs Professional in Midway
- Tool Requirements: Why Some DIY Jobs Don’t Pencil Out
- California Insurance and Liability: What Midway Homeowners Should Know
- The Middle Path: Prep Work You Can Do to Cut Costs
- Brand-Specific Considerations: Amarr, Wayne Dalton, and Craftsman
- Common Mistakes to Avoid
- When to Call a Professional
- Frequently Asked Questions
What’s Actually Safe to DIY: Four Tasks Worth Doing Yourself
Let’s start with what you can confidently handle on a Saturday morning in your Midway garage without calling anyone. These four tasks don’t involve stored tension, don’t require specialized tools, and have low consequences if you make a mistake. They’re also the tasks that get neglected most often, which means doing them yourself genuinely extends the life of your door system.
1. Lubrication. A garage door has multiple moving parts that need periodic lubrication: rollers, hinges, the opener chain or screw drive, and the torsion spring itself. You’ll want a lithium-based grease for the opener rail and a silicone spray for rollers and hinges. Avoid WD-40, which displaces moisture but doesn’t provide lasting lubrication. In Midway’s dry, dusty climate, doors tend to accumulate grit faster than in coastal areas, so twice-yearly lubrication here is more important than the once-a-year schedule most national guides recommend. This task takes 15 minutes and costs under $15 for supplies.
2. Sensor Alignment. The photo-eye sensors at the bottom of your door tracks get bumped out of alignment more often than people realize, especially in Midway garages that double as storage or workspace. When one sensor’s LED is blinking or off entirely, the door will refuse to close or reverse immediately after touching the floor. Most of the time, the fix is loosening a wing nut, adjusting the sensor’s angle so both lights are solid, and retightening. No tools beyond a wrench or your fingers are needed, and the process takes five minutes. If both sensors are lit and the door still reverses, that’s a wiring or logic board issue, which is a different conversation.
3. Remote and Keypad Programming. Chamberlain, LiftMaster, Genie, and Craftsman openers all use slightly different programming sequences, but none of them require opening the motor housing or touching wiring. Your opener’s manual has the exact steps, and most manufacturers also have model-specific videos online. The learning button on the motor head is there for a reason, and pressing it with the remote in hand is well within homeowner territory. Even smart-home integration through MyQ for LiftMaster and Chamberlain units is app-guided. The one exception: if your opener is old enough that the manual is long gone and you can’t find the model number, a specialist can identify the system quickly and confirm whether your remote is even compatible.
4. Bottom Seal Replacement. The rubber weatherstrip along the bottom of your door hardens and cracks over time, and Midway’s temperature swings from hot summer afternoons to cold winter nights accelerate that breakdown. A worn seal lets in dust, drafts, and pests. Replacement involves removing the old seal from its retainer channel and sliding a new one in. It’s a $20 part and a 20-minute job, and no door panels or springs need to be touched. The only trick is matching the seal profile to your door brand, which is usually stamped on the old seal itself.
What Requires a Professional: Torsion Springs, Cables, and Tracks
Here’s where the DIY conversation gets serious. There are components on your garage door that store mechanical energy even when the door is closed and the opener is unplugged. Those components are not safe to work on without training and specialized tools, and the failure mode when something goes wrong is not a marred paint job. It’s a hospital visit.
Torsion Spring Replacement. The torsion spring system runs along the bar above your door opening. When you close the door, those springs wind up. When you open it, they unwind and release that stored energy to help lift hundreds of pounds. A broken spring announces itself with a sound like a gunshot in the garage, and the door won’t open more than a few inches because the opener motor alone can’t lift the full weight. Replacing a torsion spring requires unwinding the old one, if it’s still partially wound, and winding a new one to the precise number of quarter-turns specified for your door’s height, weight, and spring size. Get the winding count wrong and the door is dangerously unbalanced. Use the wrong size winding bar and it can slip out of the cone while you’re under tension and become a projectile. This is the number one task where we see homeowners end up in the ER, and the number one task where we recommend leaving it to a specialist. Garage Door Repair in Midway is our core service for a reason: spring replacement is the most common repair we perform, and we’d rather see you call than see you hurt.
Cable Replacement and Re-drumming. The cables that run along each side of the door connect to the bottom brackets and wrap around drums above. They keep the door level and transfer the spring’s tension to the lifting action. When a cable frays or snaps, the door can become jammed crooked in its tracks, or worse, drop suddenly on one side. Replacing cables involves supporting the door’s full weight, releasing tension, and rewinding the cable onto the drum with the correct lay pattern. If the cable is off the drum, the re-drumming process has to be done precisely or the door will bind. The tools alone, which include cable pullers and proper locking pliers, cost more than a professional service call.
Track Realignment and Roller Replacement on Tension-Supported Doors. Roller replacement is a borderline task. On some doors, you can pop out the bottom roller if you can safely support the door with locking pliers on the tracks. But if your door uses a torsion system, and you remove the wrong roller or release the wrong bracket, the energy stored in that spring has to go somewhere. Track realignment is simpler to classify: if the track is visibly bent or the door binds at a specific point, the fix usually involves either replacing a track section or re-hanging it, both of which mean unbolting and repositioning structural components while the door is under tension. This is not a task to attempt with the door still on its springs.
The Real Cost Comparison: DIY vs Professional in Midway
Let’s talk dollars, because the DIY argument often falls apart when you look at the full cost of a mistake. A professional torsion spring replacement in Midway typically runs between $150 and $200 for the service, including the spring, when performed by a specialist who has the correct parts for your door’s weight class on the truck. Homeowners who call us for spring replacement usually have the door working again within the same visit.
A DIY torsion spring replacement gone wrong looks like this: you buy a spring online for $40 to $80, because you can find them at that price, plus winding bars for another $25 to $40 if you buy the specific hardened steel bars rather than improvising with rebar. You’re into it for $65 to $120 before you start. If the winding bar slips, and it does for the unprepared, an ER visit with a hand injury in California will routinely run $2,000 to $8,000 depending on imaging and whether surgery is needed, and that’s the insured amount after co-pays and deductibles are considered. Even if you avoid injury, a miscalculated winding count means the door is unbalanced, which destroys the opener’s gear and sprocket assembly within weeks, adding another $150 to $250 for opener repair. And here’s the part that stings: after all of that, you still need the spring installed correctly, which is the professional service call you were trying to avoid in the first place.
The economics flip entirely for the safe DIY tasks. A can of lithium grease and a tube of silicone spray cost under $20 combined and prevent wear that would otherwise turn into a $200 roller and hinge replacement down the line. A bottom seal is a $20 part. Replacing it yourself saves $75 to $100 versus having a technician do it, and there’s no risk involved. The lesson isn’t that DIY is always wrong. It’s that the math makes sense precisely when the task is low-risk and high-frequency, not when it’s high-risk and low-frequency.
For a more detailed look at what repair services actually cost in this area, our repair pricing overview breaks down the typical ranges by repair type.
Tool Requirements: Why Some DIY Jobs Don’t Pencil Out
One of the least-discussed aspects of the DIY question is tooling. A job either uses tools you already own or tools you have to buy. Buying a specialized tool for a one-time job only makes financial sense if the total still comes in well under the professional rate, and for garage door work, that’s often not true.
Here’s what professional-grade tools actually look like for common garage door repairs:
- Winding bars: Hardened steel bars, typically 18 inches long and 1/2 inch diameter, that seat fully into the winding cone of a torsion spring. Not socket extensions. Not screwdrivers. Not rebar. A proper pair costs $25 to $40, and using anything else is how hands get broken.
- Cable pullers and locking pliers: Used to hold tension on cables during replacement. Professional-grade versions have curved jaws that grip the cable without fraying it. Bargain versions slip.
- Specific socket sizes: Clopay doors, common in newer Midway construction, use 5/8-inch bolts on their track brackets and spring anchor plates. Amarr doors, more common in older and custom-built homes, use a mix of 9/16 and 7/16. Wayne Dalton’s TorqueMaster system, which hides the spring inside a tube, uses its own proprietary winding tool that isn’t available at any retail hardware store.
- A torque wrench: For installing an opener and ensuring the mounting bolts are tightened to spec without stripping the bracket. You can borrow one, but most homeowners don’t have one.
For the safe DIY tasks, the tool list is short: a wrench, a screwdriver, possibly a step ladder, and a pair of gloves. Most Midway homeowners already have all of that. For the dangerous tasks, you’re buying tools you’ll use once, and the specialized ones cost enough that the savings versus a professional call shrink to the point of being meaningless.
California Insurance and Liability: What Midway Homeowners Should Know
This is the part most guides don’t touch, and it matters in California more than in most states. If a garage door or opener you installed yourself fails and causes property damage or injury, your homeowner’s insurance may look at the claim differently than if the work was done by a licensed professional.
California homeowner policies generally require that you maintain your home in a reasonable state of repair. That’s true everywhere. But California’s broader liability statutes, combined with how insurers investigate claims, mean that a DIY installation can become grounds for a denied claim if the insurer determines that the work fell below professional standards and contributed directly to the damage. If a DIY opener mount fails and the door comes down on a car, or worse, on a person, the insurer’s adjuster is going to ask who installed the opener and whether they were qualified. The answer to that question changes the claim’s trajectory.
There’s also a practical layer here. Professionally installed openers and doors come with manufacturer warranty coverage that’s tied to proper installation. LiftMaster and Chamberlain, for example, offer extended warranty coverage on openers installed by authorized dealers. If you install it yourself and the logic board fails at month 13, you’re buying a new board. If a professional installed it and the work is documented, the warranty claim proceeds. The same logic applies to door hardware warranties from Amarr and Clopay. In Midway’s market, where home values have risen significantly over the last decade, a documented professional installation is also a small but real resale asset, something to show a buyer rather than something to explain away.
We’re not saying every DIY project voids your insurance or warranty. We’re saying that when the stakes involve a 400-pound door, stored spring energy, and a claim that could run five figures, the insurance and warranty angle deserves more weight than most DIY guides give it. If you’re looking at Garage Door Installation in Midway, the warranty documentation alone is a solid argument for professional work.
The Middle Path: Prep Work You Can Do to Cut Costs
If you’re the type who wants to save money without doing the dangerous stuff, there’s a middle path that most Midway homeowners don’t know exists. When we arrive for a repair or installation, the technician’s time is the meter running. Prep work you do beforehand doesn’t reduce the technician’s skill requirement, but it does reduce the on-site time if you know what to prepare.
Here’s a step-by-step list of genuinely useful prep work:
- Clear the work area. Move vehicles out of the garage. Move stored items at least six feet back from the door and opener assembly. If your garage is the typical Midway storage-overflow situation, this alone can save 15 to 20 minutes of technician time.
- Remove old weatherstripping and sweep debris. If you’re having a new door installed, pull off the old bottom seal and side weatherstripping. Sweep the threshold clean. Technicians often have to do this anyway, and doing it yourself is safe.
- Measure your opening. A standard Midway single-car door is 8 by 7 feet, but many older homes in the area, particularly those built in the 1970s and earlier, have non-standard sizes. Measure width and height to the nearest inch and write it down. It helps with parts selection before a technician arrives.
- Label your opener model. Find the model number on the motor head of your opener and write it down, along with the brand. Chamberlain and LiftMaster units have it on a label on the side or back. This lets us bring the right parts on the first trip, since we work across LiftMaster, Chamberlain, Genie, Craftsman, and the rest of the major brands.
- Take photos before you start anything. Snap a few photos of the spring assembly, the track brackets, the cable drums, and the opener. If you’re getting quotes over the phone, these photos help identify the door type and spring configuration before a technician even arrives.
None of this involves touching tension-bearing components. All of it reduces the time a professional spends on site, and some companies will reflect that in the final quote. Even when they don’t, you’ve made the job faster for the person doing the work, which is worth something on its own.
Brand-Specific Considerations: Amarr, Wayne Dalton, and Craftsman
Garage doors are not all built the same way, and the DIY calculus shifts slightly depending on what’s actually hanging in your Midway garage. Here’s what being brand-specific looks like in practice.
Amarr: Amarr doors are common in Midway’s newer subdivisions and custom homes. They’re well-built doors with tight tolerances, but their hardware is metric in some models and SAE in others, which trips up a homeowner with a standard socket set. The bottom seals on Amarr doors use a T-shaped retainer channel that’s brand-specific, and if you buy a universal seal, it won’t seat properly and will pull out within weeks. The good news: Amarr documentation is excellent, and if you can find your model number, parts are easy to match. The caution: the spring sizing on Amarr’s heavier insulated doors is specific, and guessing at a replacement spring based on door dimensions alone is how you end up with an unbalanced door.
Wayne Dalton: Wayne Dalton is the brand that most often surprises Midway homeowners. Many of their models use the TorqueMaster spring system, which encloses the entire torsion spring inside a tube bolted to the header. There’s no exposed spring to inspect, and the winding mechanism requires a proprietary tool that’s only available through authorized dealers. If you have a Wayne Dalton TorqueMaster system and the spring breaks, this is not a conversation about DIY. You literally cannot buy the tool to do the job yourself. These systems have the door in excellent balance and they’re cleaner-looking than exposed springs, but they’re a hard stop for DIY spring work.
Craftsman: Craftsman openers are some of the most common units in Midway’s older homes, especially houses built in the 1990s and 2000s. The openers themselves are ChainMaster models with a belt or chain drive, and the good news is that Craftsman openers use widely compatible remote standards and their parts are broadly available. The caution with Craftsman is that the brand has changed hands multiple times over the years, and the model number is on a label that often fades or falls off. When a Craftsman opener fails, the first question is always what model you actually have, and a homeowner who can’t answer that may end up buying a part that doesn’t fit.
We work on these brands and the other major ones because Wexford Garage Door Repair home is built around the idea that a specialist should recognize what’s in your garage without a production number. That brand fluency is the difference between diagnosing a problem in one visit and playing parts roulette across multiple trips.
Common Mistakes to Avoid
- Using improvised winding bars. Screwdrivers, pry bars, and socket extensions are not winding bars. They flex, they slip, and when a bar slips out of a wound spring cone, the stored energy releases in a fraction of a second. Buy the right bars if you’re dead set on doing spring work, or better yet, don’t do spring work yourself.
- Disconnecting the opener from a door that’s still under spring tension. The emergency release cord on your opener is there for power failures, but some Midway homeowners pull it when the door is stuck halfway open. If the door is bound or unbalanced, releasing the opener can send the door crashing down. If the door is stuck, call someone before you touch that cord.
- Lubricating the wrong components. Grease on rollers that roll on metal tracks is fine. Grease on nylon rollers is a magnet for the dust that Midway’s dry air kicks up. Use the right lubricant for the right part.
- Buying a “universal” bottom seal. Universal seals are universal in the sense that they fit poorly on everything. Match the seal to your door’s retainer channel. Amarr, Clopay, and Wayne Dalton all have different profiles.
- Replacing only one spring when a two-spring system breaks one side. Springs cycle together and wear together. If one breaks, the other is near the end of its life. Replacing only the broken one means a return visit in six months. Professionals replace both on a two-spring system as standard practice.
- Skipping the balance test after a repair. A correctly balanced door should stay put when opened manually to knee height. If it creeps up or falls down, the spring tension is wrong. This test matters because an unbalanced door destroys openers and wears out hinges fast.
- Ignoring the opener’s force settings after door work. When a door is re-sprung or a new door is installed, the opener’s downforce and upforce settings often need adjustment. If the force is too high, the door can crush something in its path because the safety reverse won’t trigger in time.
When to Call a Professional
If your torsion spring is broken, call a professional. If a cable has snapped or jumped the drum, call a professional. If the door is stuck halfway with the opener connected and you can’t identify the cause, call a professional. If your opener’s logic board is failing and the unit isn’t compatible with a straightforward remote, call a professional. If you have a Wayne Dalton TorqueMaster system and anything inside that tube has failed, call a professional, because the tooling isn’t even available to you.
The threshold is simpler than most guides make it: if the component stores mechanical energy or supports the door’s full weight, it’s professional territory. If it doesn’t, it’s probably fair game. Wexford Garage Door Repair offers free estimates in Midway, and we’ll tell you straight whether a repair is worth doing or a replacement makes more sense. Call (833) 589-9949 and we’ll talk through what you’re seeing before anyone gets in a truck.
Frequently Asked Questions
You can, but you shouldn’t. Torsion spring replacement requires winding bars, the correct spring size for your door’s weight and height, and the experience to wind the spring to the proper number of quarter-turns. The injury risk from a slipped bar is severe, and the cost of a professional replacement in Midway, typically $150 to $200, is less than an urgent care visit even without complications. Call a specialist for this one.
Professional repair costs in Midway vary by repair type. A torsion spring replacement typically runs $150 to $200. Cable replacement runs $120 to $180. Opener logic board replacement runs $150 to $250 depending on the opener brand. Our garage door repair service provides exact quotes after we see the door, and estimates are always free. Call (833) 589-9949 to get a number for your specific issue.
Lubricating rollers, hinges, and the opener rail is safe. Realigning photo-eye sensors is safe. Programming remotes and keypads, including MyQ-enabled LiftMaster and Chamberlain systems, is safe. Replacing a worn bottom seal is safe as long as you match the seal profile to your door brand. None of these tasks involve stored spring tension, which is the line between safe and dangerous.
It can. California insurers may treat a claim differently if the damage traces back to a DIY installation that fell below professional standards, particularly in injury cases. Professionally installed work includes documentation and warranty coverage that DIY work does not, and if you ever have an opener fail catastrophically, the difference in how the claim is handled can be substantial. Our Garage Door Opener Repair in Midway service also handles full replacements with professional documentation.
Torsion springs are rated by cycle life, not calendar years, and most standard springs last 10,000 cycles, which is about seven to ten years of normal use. Midway’s dry, dusty conditions can accelerate wear on the spring’s bearing points, so checking the spring for rust and binding during your twice-yearly lubrication routine is worth doing. If you’re not sure how old your springs are and the door feels heavy when opening manually, the springs may be near the end of their life.
Yes. Clearing the work area, removing old weatherstripping, measuring your opening, and labeling your opener model are all safe, useful prep tasks that reduce technician time on site. For Garage Door Installation in Midway, doing this prep beforehand is genuinely helpful and costs you nothing but 30 minutes.
The Bottom Line
The DIY versus professional question for garage doors isn’t a philosophical one. It’s a risk and cost equation, and the answer shifts by task. Lubrication, sensor alignment, remote programming, and seal replacement are homeowner work, and doing them yourself saves real money over time. Spring replacement, cable work, and track repairs are specialist work, and the savings from attempting them yourself are dwarfed by the cost of even one mistake. The smartest Midway homeowner handles the safe maintenance, buys the right brand-matched parts, and calls a professional the moment the job involves stored tension. That’s the balance that keeps your door running and your hands intact.
Written by the team at Wexford Garage Door Repair, serving Midway since 2017.
See the difference
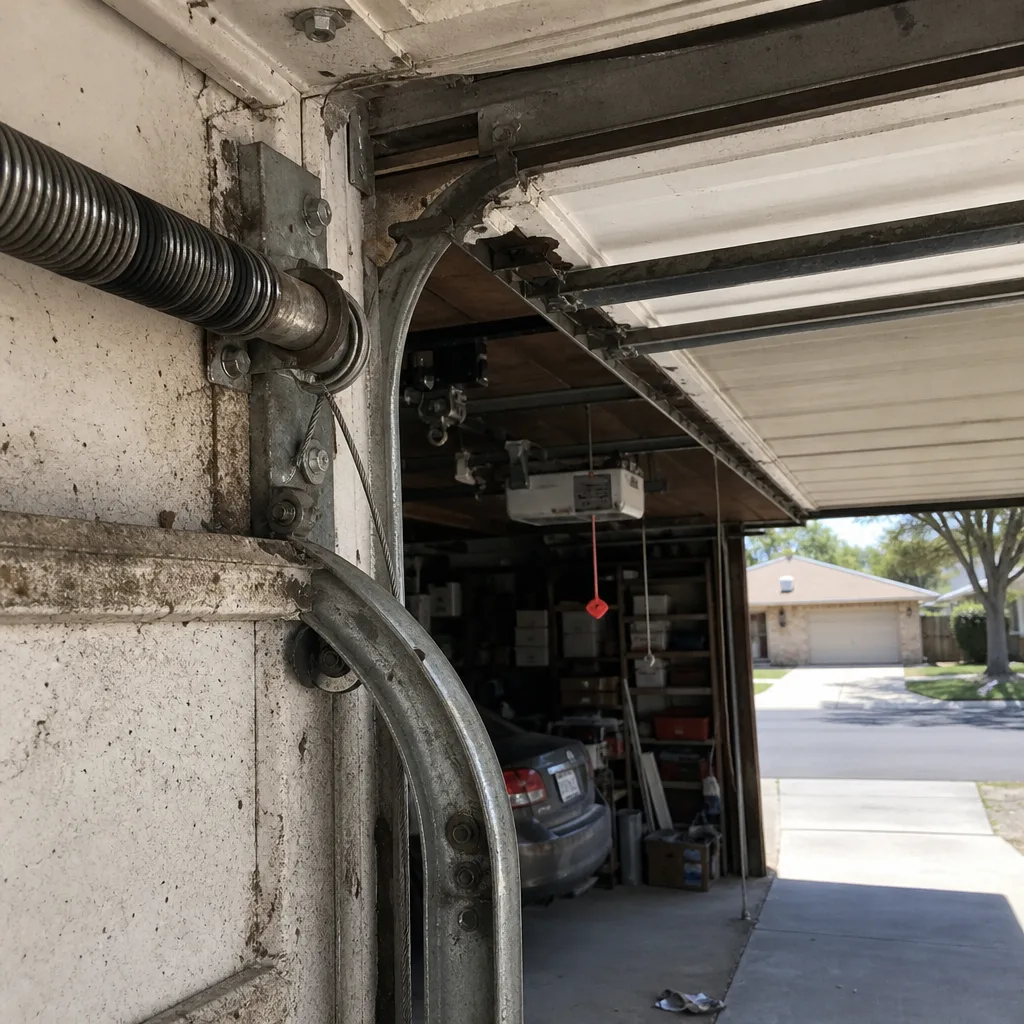 Before
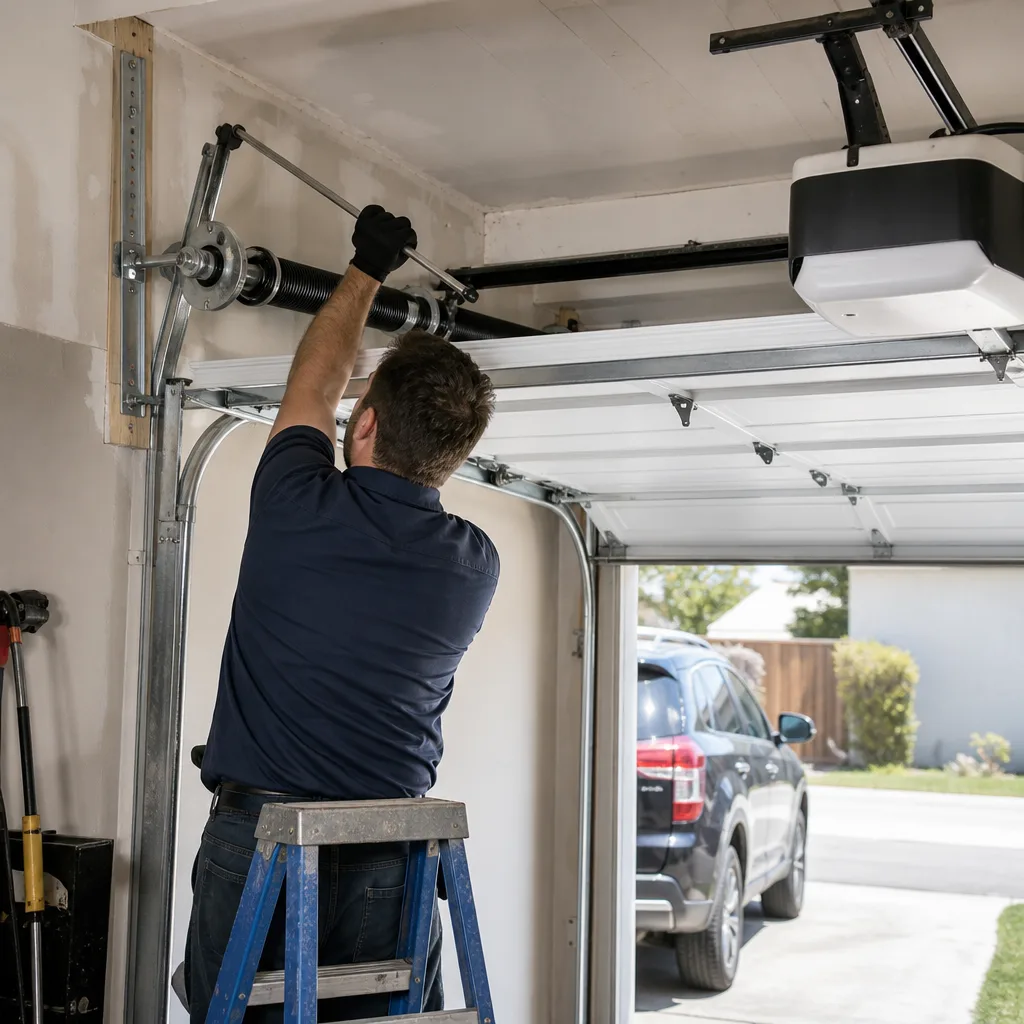 After
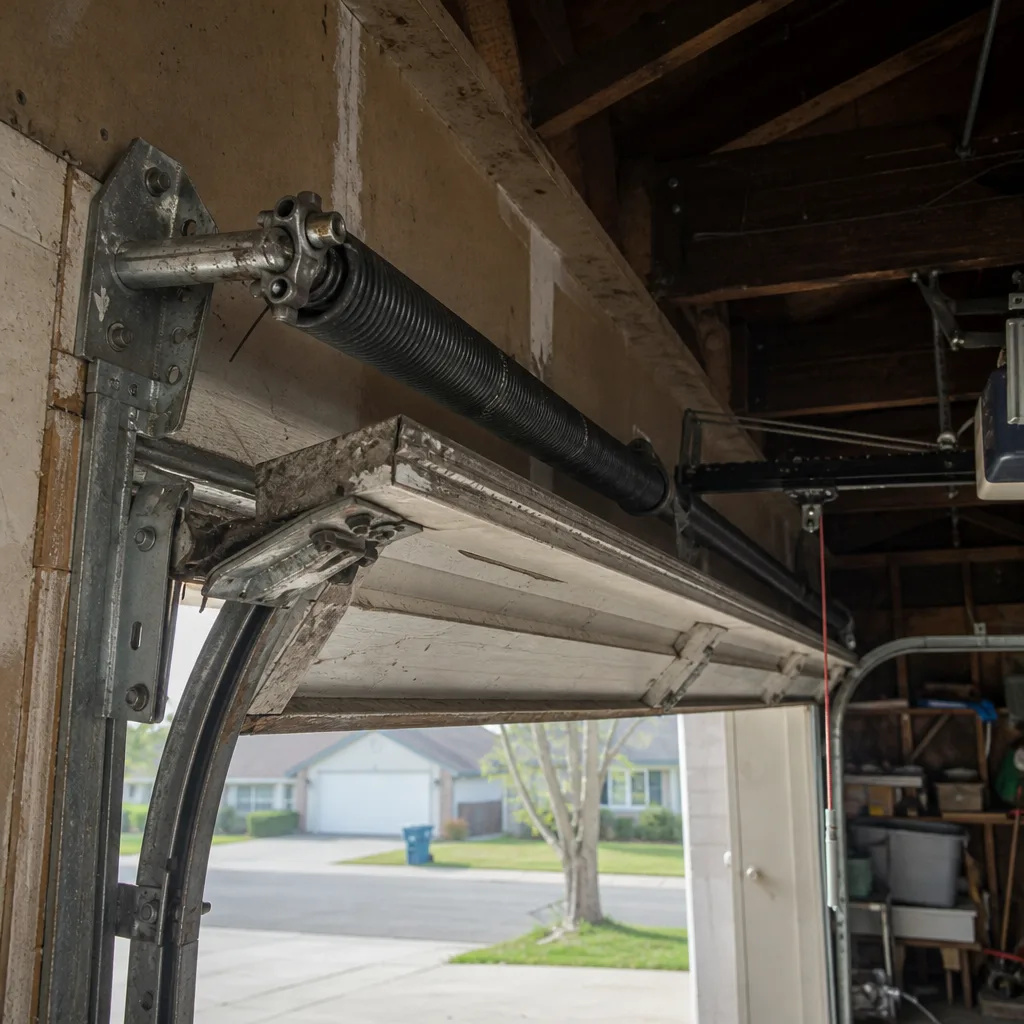 Before
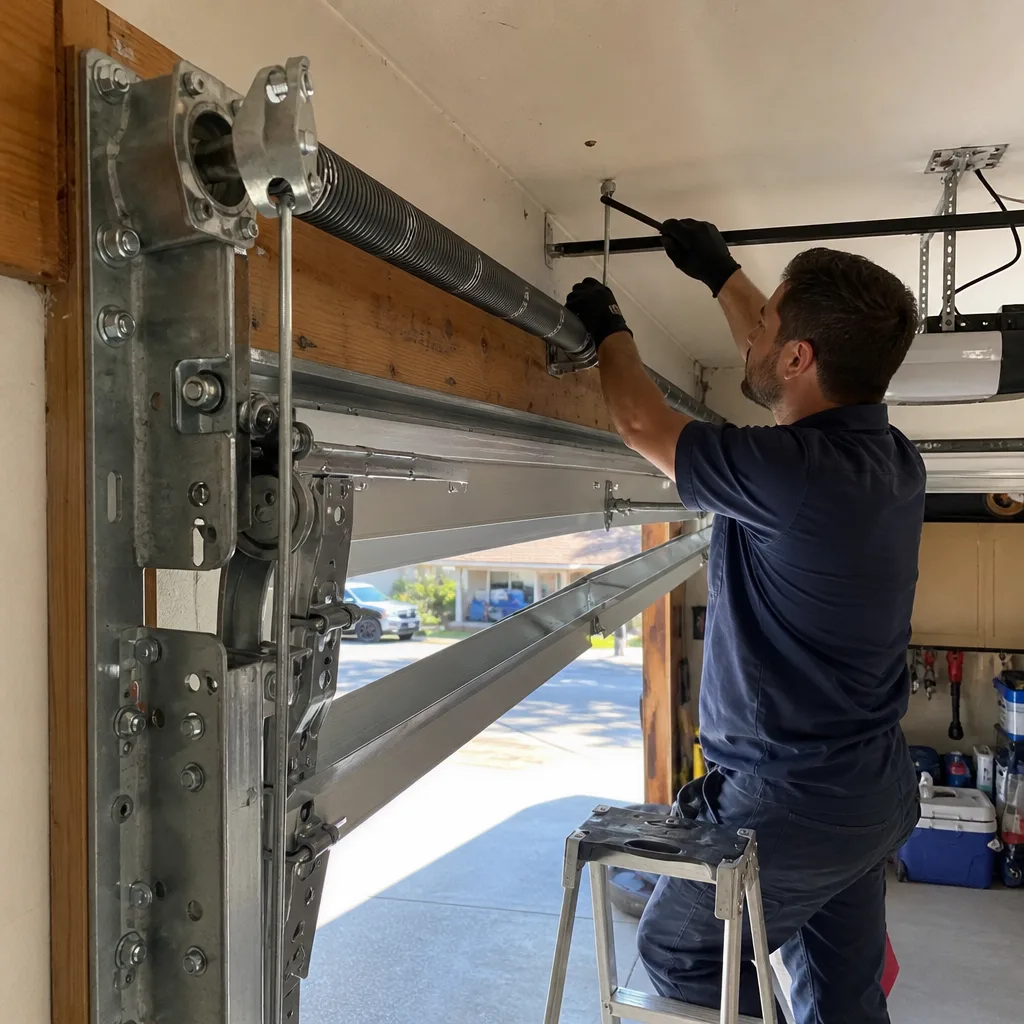 After
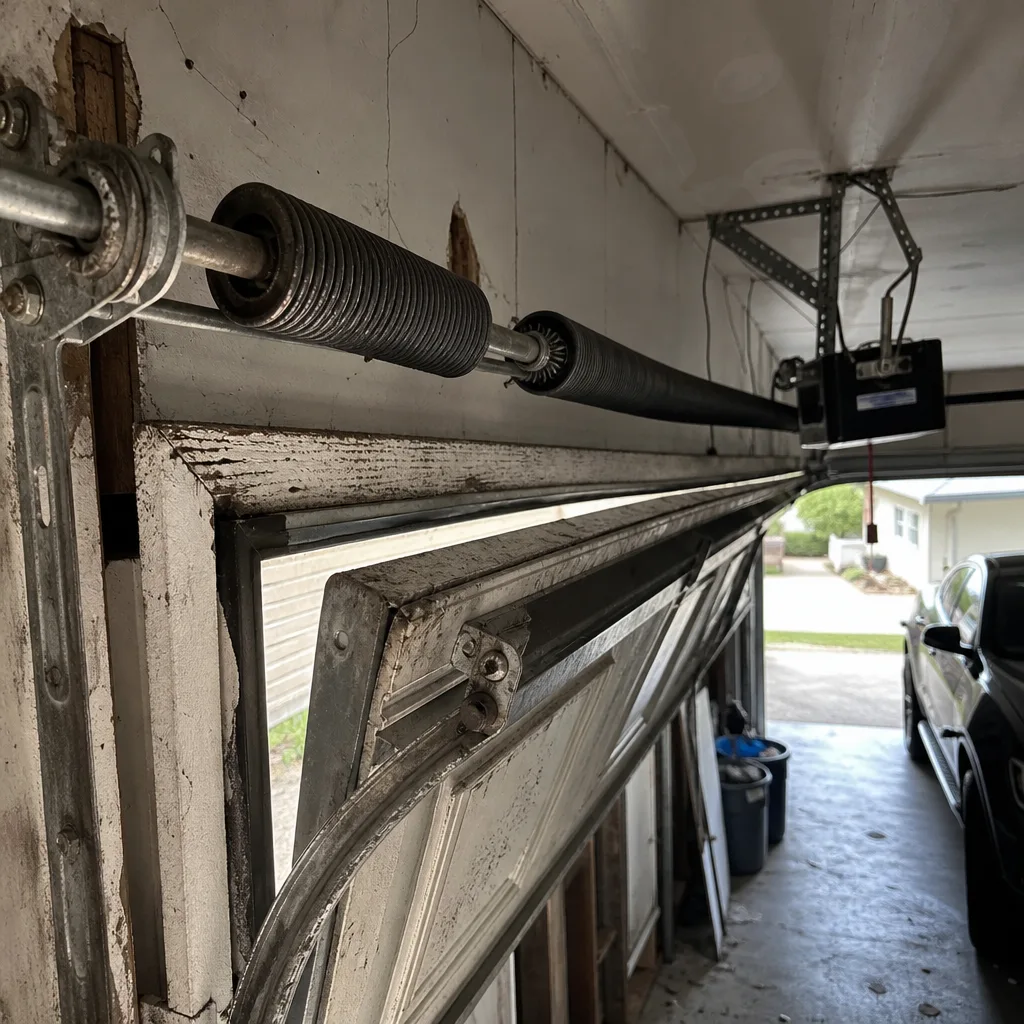 Before
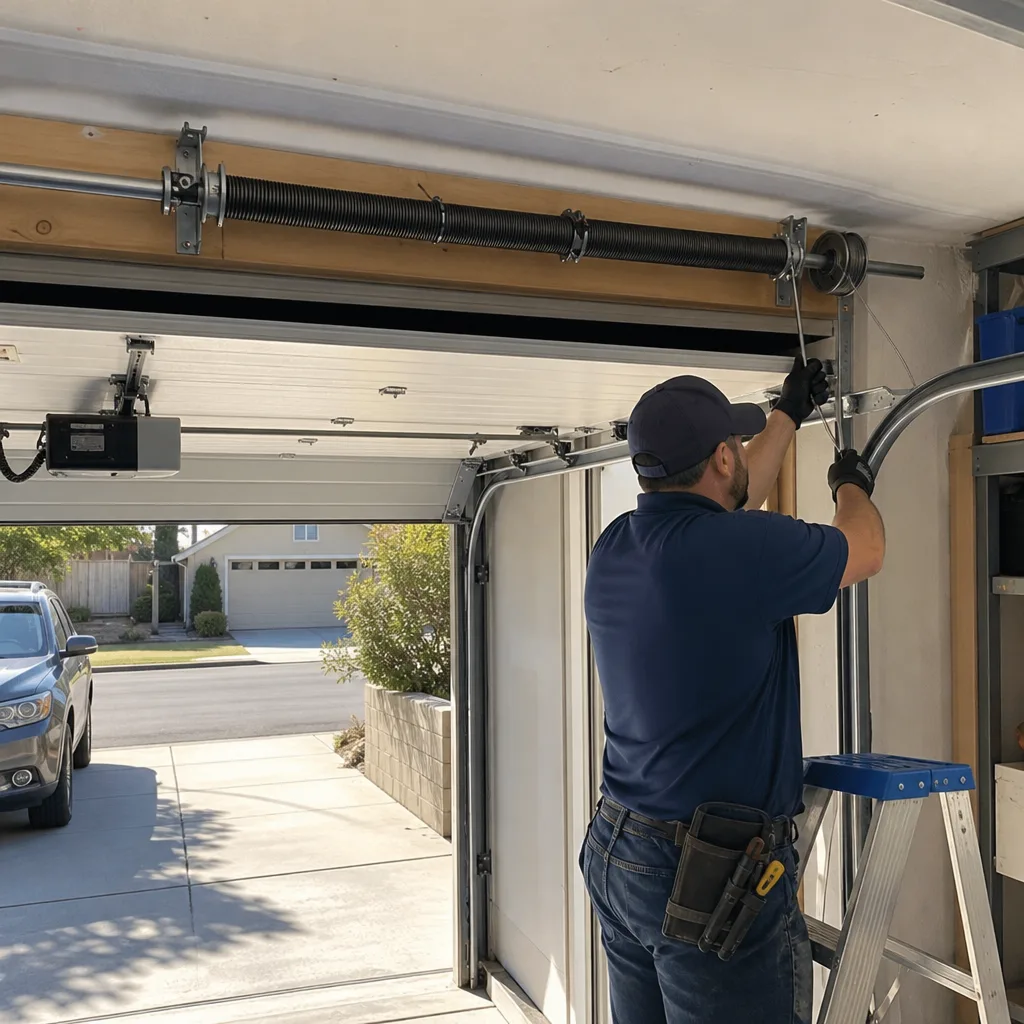 After