
Last updated November 2, 2026
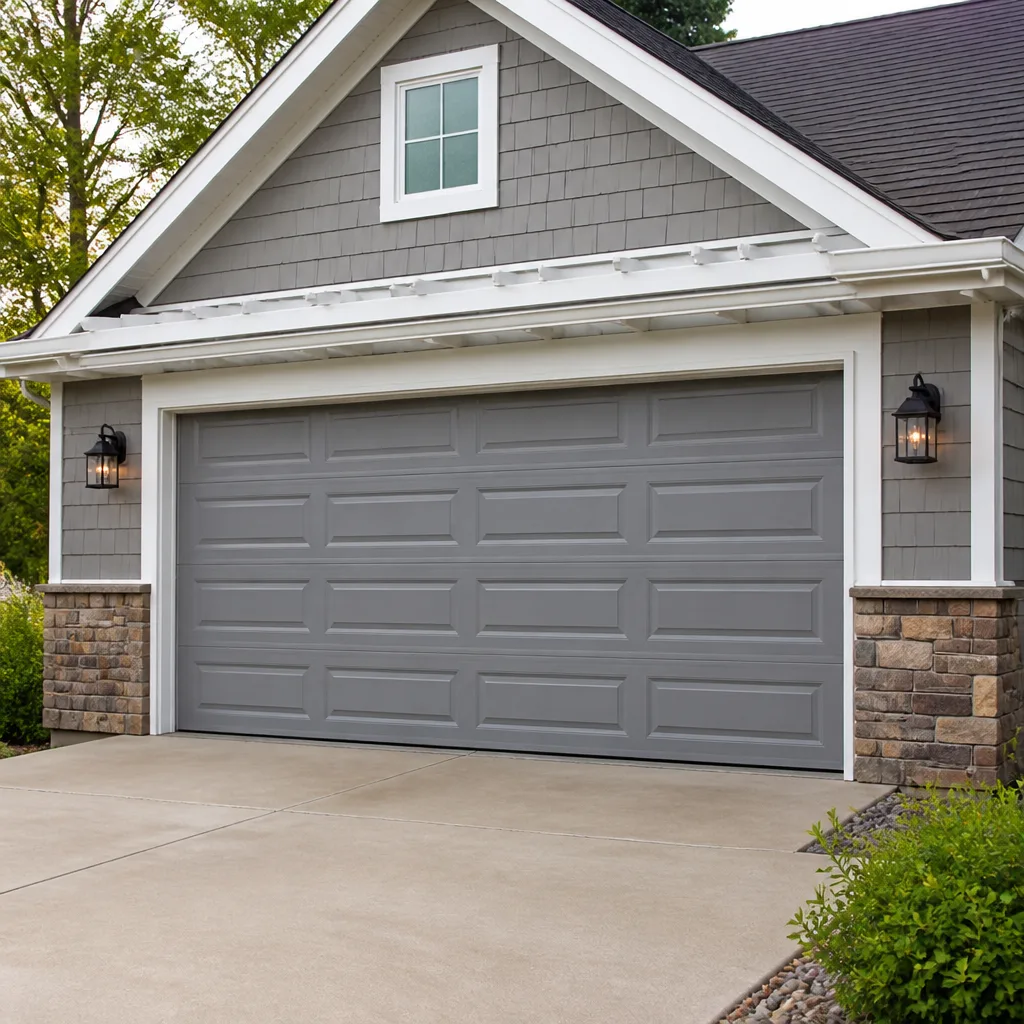 Raised-panel steel
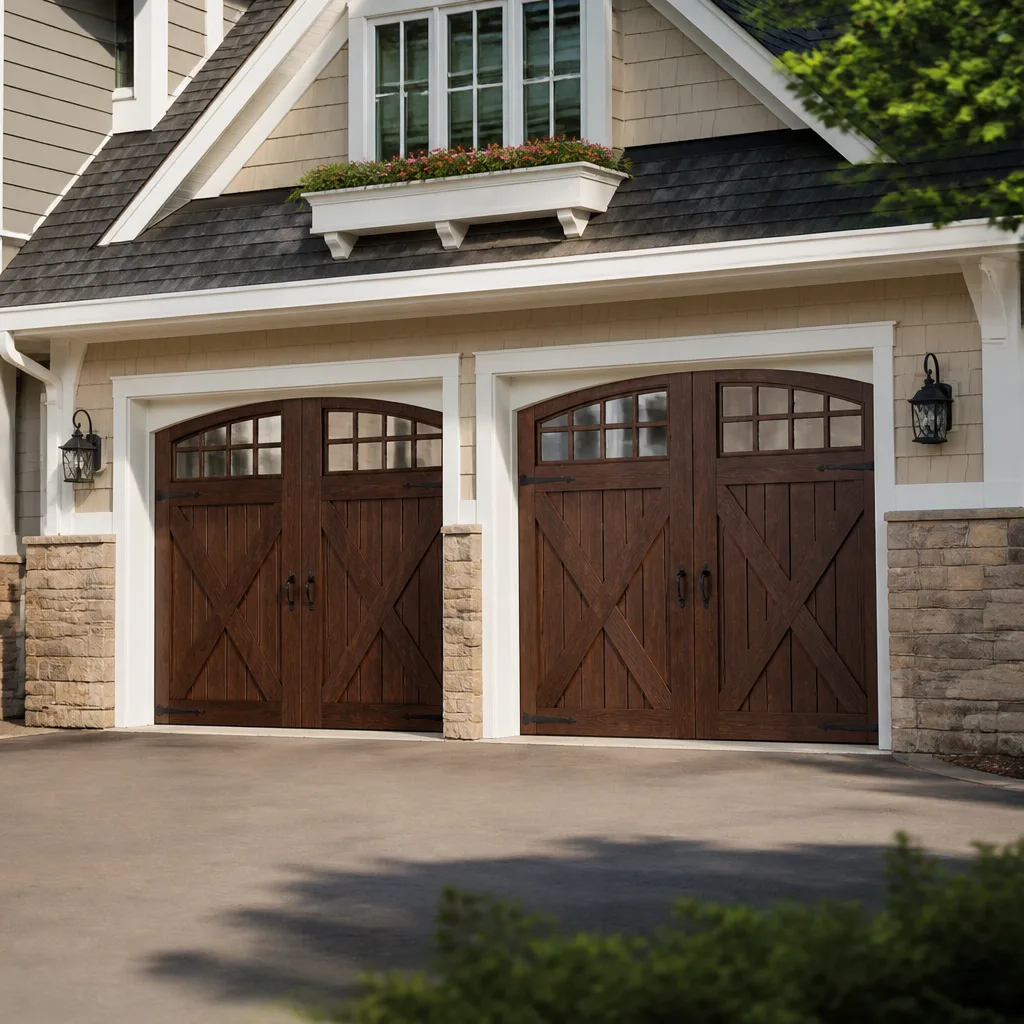 Carriage house
 Modern flush
 Full-view glass
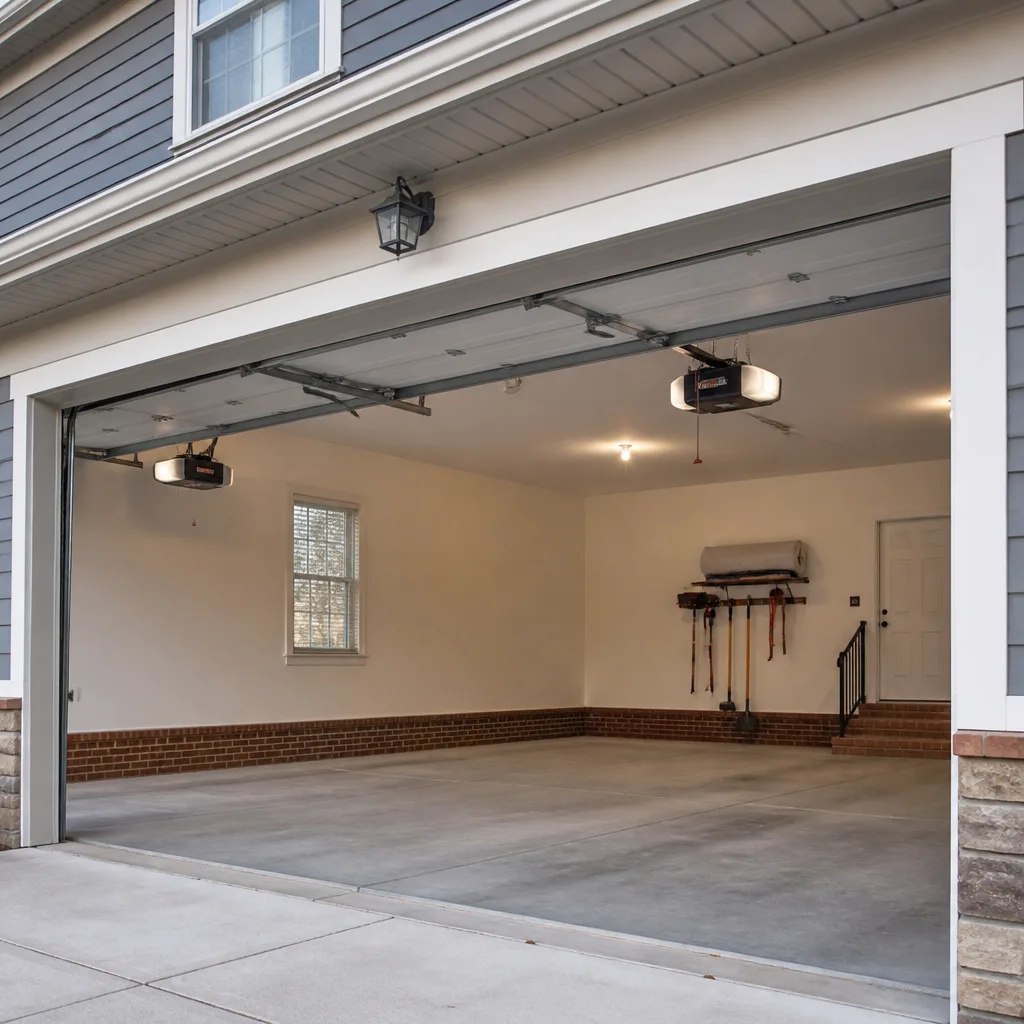 LiftMaster openers
 Chamberlain openers
Full 25-point door and opener safety check with every visit - springs, cables, rollers, tracks, and your LiftMaster or Chamberlain opener included
You get a price before we start. It does not change when the truck arrives.
Get your free estimateGarage Door Repair Maintenance Checklist for Midway Homeowners
WD-40 on a torsion spring doesn’t lubricate it. It strips the protective coating and accelerates rust, and it’s the single most common DIY maintenance mistake we encounter on service calls across Midway. A garage door is the largest moving object in your home, cycling open and closed roughly 1,500 times a year. Every one of those cycles wears something down. This guide names the exact parts, the correct product for each, and the specific failure you prevent by doing it right. We’ve written it specifically for Midway homeowners, because our climate and housing stock create predictable patterns we see all the time.
Quick Answer
A proper garage door maintenance routine for Midway homeowners includes monthly visual inspections of cables and rollers, quarterly lubrication of hinges and rollers with white lithium grease, silicone spray on weather stripping twice a year, a balance test every six months, and annual tightening of all hardware. The entire routine takes under 30 minutes and prevents most of the repair calls we make in Midway.
Styles & brands we work with
- Raised-panel steel
- Carriage house
- Modern flush
- Full-view glass
- LiftMaster openers
- Chamberlain openers
Table of Contents
- The Right Lubricant for Every Part
- The Balance Test: What 3 Inches of Drift Tells You
- Cable Inspection: Where Fraying Hides
- Hardware Tightening: The Vibration Problem
- Weather Stripping and the Midway Climate
- Frequency Schedule by Component
- Which Tasks Can Void a Manufacturer Warranty
- Common Mistakes to Avoid
- When to Call a Professional
The Right Lubricant for Every Part
The generic advice to “lubricate moving parts” causes more damage than it prevents, because not all garage door parts want the same product. Using the wrong one accelerates wear. Here’s the part-by-part breakdown we teach homeowners in Midway.
Rollers
Steel rollers with ball bearings need white lithium grease applied to the bearing area, not the wheel surface. Nylon rollers from brands like Raynor and Clopay run quieter but the bearings still need grease twice a year. If your rollers are original to a 1990s-era Midway home, they may be steel rollers without bearings. Those are beyond lubrication and should be replaced. You’ll hear them before you see the problem.
Hinges
Door hinges flex every time the door rounds a track curve. White lithium grease on the hinge pivot points keeps that motion smooth and quiet. Apply a thin coat, wipe away excess, and open and close the door once to work it in. Excess grease collects dust and grime, which turns into a paste that gums up the hinge.
Torsion Springs
Do not use aerosol oil, WD-40, or penetrating spray on torsion springs. Those products strip the factory coating and invite rust. Torsion springs are under extreme tension and a rust-compromised spring can snap without warning. The correct approach for springs is to leave them alone unless you see surface rust forming. In that case, a light coat of white lithium grease sprayed directly on the coil surface will slow oxidation. If the rust is flaking or the spring shows gaps in the coil, the spring is failing and the door needs professional service.
The Chain or Belt on Your Opener
LiftMaster and Chamberlain openers with chain drives need a light machine oil on the chain once a year. Belt drives don’t require lubrication. The rail on either type gets a thin coat of white lithium grease. In our experience, Midway garages that run hot in summer show faster chain slack, so check tension when you lubricate.
| Part | Correct Product | Frequency | Failure You Prevent |
|---|---|---|---|
| Roller bearings | White lithium grease | Quarterly | Bearing seizure, squealing |
| Hinge pivots | White lithium grease | Quarterly | Binding, door uneven operation |
| Torsion spring | White lithium grease only if rusting | As needed | Rust-induced fracture |
| Weather stripping | Silicone spray | Twice a year | Brittleness, cracking, drafts |
| Opener chain | Light machine oil | Annually | Slack, noisy operation |
The Balance Test: What 3 Inches of Drift Tells You
A garage door that’s properly balanced should hold position at any point in its travel. The balance test is simple, takes 30 seconds, and reveals spring tension problems months before a failure. Here’s the step-by-step version we walk Midway homeowners through.
- Close the door completely.
- Disconnect the opener by pulling the red emergency release cord. The door should now move manually.
- Lift the door by hand to waist height, roughly three feet off the ground.
- Release it slowly and watch what happens.
If the door stays put, your springs are doing their job. If it drifts downward more than about three inches and then settles, spring tension is weakening. If it drifts upward, the springs are over-tensioned, which strains the opener motor. If it drops quickly or slams, you have a broken spring or severely worn cables. Either condition means the opener is working harder than it should, and that’s what kills LiftMaster and Craftsman opener motors prematurely.
In Midway, we see balance problems most often in homes built before 2005, when original torsion springs from that era reach the end of their rated cycle life. A standard spring is rated for 10,000 cycles. At 1,500 cycles a year, that’s roughly seven years of service. If your home in Midway still has original springs and it’s older than that, the balance test is not optional. It’s an early warning system.
Cable Inspection: Where Fraying Hides
Garage door cables are the most overlooked inspection point, mostly because they’re partially hidden. The cables spool around a drum at the top of each track, and the first signs of fraying appear on the section of cable wrapped against the drum, invisible from the garage floor. On a home in Midway, dust and heat accelerate cable wear in ways we don’t see in coastal climates.
Here’s the full visual inspection routine. You’ll need a step ladder and a flashlight.
- Stand at the center of the door and look at both cables where they attach to the bottom brackets. Look for rust staining, broken strands, or a bracket that’s pulling away from the door.
- Climb a step ladder and inspect the section of cable where it wraps the drum. Look for individual wire strands beginning to separate. This is the failure point.
- Run your fingers along the exposed cable length between the drum and the bottom bracket. Wear gloves. You’re feeling for burrs, kinks, or a sharp “furry” texture where strands are separating.
- Check both cables for equal tension. If one cable hangs looser than the other, the door is lifting unevenly and the tight cable is carrying more load.
Any broken strand means the cable is on borrowed time. Cables hold the spring’s energy, and a snapped cable releases that energy violently. This is not a DIY replacement job. The cables on a Wayne Dalton or Amarr door work in tandem with the spring system, and replacing one without releasing spring tension in the correct sequence is how serious injuries happen. Our Garage Door Repair in Midway service handles cable replacement as a core repair because we see the damage waiting to happen.
Hardware Tightening: The Vibration Problem
Every time a garage door runs, the wheels, hinges, and track absorb vibration. Over hundreds of cycles, that vibration loosens bolts and brackets. A door that’s slightly loose operates louder and wears unevenly. Tightening hardware is the cheapest maintenance item on this list and the most commonly skipped.
The tools you need: a 3/8-inch socket wrench, a 7/16-inch socket wrench, and a Phillips screwdriver. Hardware sizes vary by brand and era, so having both socket sizes covers most residential doors.
Work through these points, in this order:
- Track brackets where they attach to the wall and ceiling. Loose track brackets cause the door to bind mid-travel.
- Hinge bolts on every hinge, including the top and bottom hinges that carry the most stress.
- Roller brackets where they attach to the door sections. Loose brackets let rollers wobble out of the track.
- Opener mounting brackets and the bolts that hold the opener rail to the motor head. A loose opener vibrates itself to death.
- Visual cable inspection, both sides, looking for fraying or rust staining.
- Listen to the door through one full open-close cycle. A new noise is the first symptom of a developing problem.
- Check the emergency release cord for damage and confirm it operates smoothly.
- White lithium grease on roller bearings and hinge pivots.
- Wipe down tracks with a dry cloth. Do not grease tracks.
- Check opener chain or belt tension and lubricate as needed.
- Full balance test as described above.
- Silicone spray on bottom seal and perimeter weather stripping.
- Photo-eye sensor check: align sensors and wipe the lenses with a soft cloth. Both sensors should show a solid, steady light.
- Complete hardware tightening pass on every bracket, hinge, and bolt listed above.
- Test the auto-reverse function by placing a 2×4 flat in the door’s path. The door should reverse on contact and before hitting the wood. Adjust force settings on your LiftMaster or Chamberlain opener if it doesn’t.
- Inspect the torsion spring for rust, gaps, or uneven coil spacing.
- Using the wrong lubricant on door components can be cited in a warranty denial if a part fails and the wrong product is detected. Aerosol sprays with petroleum distillates are the usual culprit.
- Adjusting spring tension yourself is explicitly excluded on nearly every residential door warranty. Spring work requires trained professional handling, and evidence of adjustment on a spring that later breaks can void coverage.
- Replacing parts with non-factory components can void coverage on the door section. This matters most on balanced systems where the spring, cables, and drums are matched as a set.
- Modifying the door, including drilling holes, cutting sections, or repainting with products that affect the door’s thermal rating, can void portions of the warranty.
- Lubricating the track. Garage door tracks are not lubricated. Grease in a track collects dirt and creates a sticky residue that makes the door bind. If the track is dirty, wipe it clean with a dry cloth.
- Using WD-40 on springs. This is the mistake we see most often on Midway service calls. WD-40 strips the spring’s protective coating. Use white lithium grease if the spring shows rust, or leave it alone.
- Ignoring a noisy door. A door that squeals, grinds, or pops is telling you something. Lubrication can’t fix a noise caused by a worn bearing or a loose bracket, and waiting turns a fixable problem into a full component replacement.
- Testing the auto-reverse with your hand or a flat object. Use a 2×4 laid flat on the floor. Your hand is not a reliable test, and a thin object may not trigger the reversal mechanism on older openers.
- Adjusting spring tension with a pair of vice grips and a YouTube video. Torsion springs are under enough tension to cause serious injury or death. This is the one task on your garage door that should never be a DIY project, regardless of how confident the video makes you feel.
- Forgetting the opener is part of the system. Homeowners in Midway lubricate the door but never check the opener’s chain, belt, or force settings. The opener is a motorized device with its own maintenance needs, and neglect is why openers fail before doors do.
Tighten until snug, not until you can’t turn the wrench anymore. Overtightening strips threads and deforms brackets. If a bolt spins without tightening, the hole is stripped and the bracket needs replacement, which is a repair call we make regularly in Midway for doors installed in the 1980s and 1990s, when thinner gauge metal was common.
Weather Stripping and the Midway Climate
Midway’s summer heat is hard on rubber. The bottom seal on your garage door dries out, cracks, and eventually breaks away in pieces. A garage door that doesn’t seal at the bottom lets in dust, heat, insects, and rain. In Midway, we also see the reverse problem: a seal that’s too far gone lets cooled air escape, which matters if your garage is climate-controlled or you use it as a workspace.
The bottom seal is a rubber or vinyl strip that runs the width of the door. It slides into a retainer channel on the bottom panel. Twice a year, clean the seal with mild soap and water, then apply silicone spray. Silicone conditions the rubber without petroleum distillates that break it down. Avoid any product that leaves a greasy film, which collects dirt and grit.
While you’re at it, inspect the weather stripping on the sides and top of the door opening. Look for gaps where daylight shows through when the door is closed. A dollar bill test works: close the door on a dollar bill at several points around the perimeter. If it slides out easily, the seal is worn.
Replacing a bottom seal is a straightforward job if the door is lifted evenly, but if the door doesn’t lift perfectly level, the seal will wear unevenly and you’ll be back to square one. That uneven lift is a spring or cable problem, not a seal problem. Our Garage Door Installation in Midway work often starts because a homeowner chasing seal replacements discovers the underlying balance problem.
Frequency Schedule by Component
Most maintenance guides say “twice a year” and leave it at that. That’s too vague. Different components wear at different rates, and Midway’s climate means some parts need more attention than their counterparts in milder regions. Here’s the schedule we recommend.
Monthly
Quarterly
Twice a Year
Annually
Which Tasks Can Void a Manufacturer Warranty
Manufacturer warranties on doors and openers have exclusions, and some of them are triggered by what you do, not what you don’t. Before you attempt any maintenance beyond lubrication and tightening, check your warranty document. Here’s what brands like Clopay, Amarr, and Wayne Dalton commonly address.
The way to protect yourself is documentation. Keep a log of the date, the task performed, and the product used. Take a photo of the product label. When a warranty claim is filed, the homeowner who can show a maintenance history is in a much better position than one who can’t. We’ve helped Midway homeowners document their maintenance history before filing claims, and the difference is real.
If you’re unsure whether a task falls inside or outside warranty coverage, the manufacturer’s customer support line is easier to reach than you think. For spring, cable, or opener motor work, garage door opener repair in Midway and spring service are jobs we handle because the warranty implications alone make DIY a bad bet.
Common Mistakes to Avoid
When to Call a Professional
Call a garage door specialist when you see broken cable strands, a door that doesn’t pass the balance test, a spring with visible gaps or separation, or an opener that runs but won’t lift the door. These are failure symptoms, not maintenance items, and continuing to operate the door puts you and the hardware at risk. A door that comes off its track can fall, and the energy in a loaded torsion spring is not something to troubleshoot. Wexford Garage Door Repair offers free estimates in Midway, and our team works specifically on the brands in your garage, including LiftMaster, Chamberlain, Craftsman, and Raynor. Call (833) 589-9949 and we’ll tell you honestly whether a repair or replacement makes sense. That’s the Wexford Garage Door Repair home approach: you get a straight answer, not a sales pitch.
See the difference
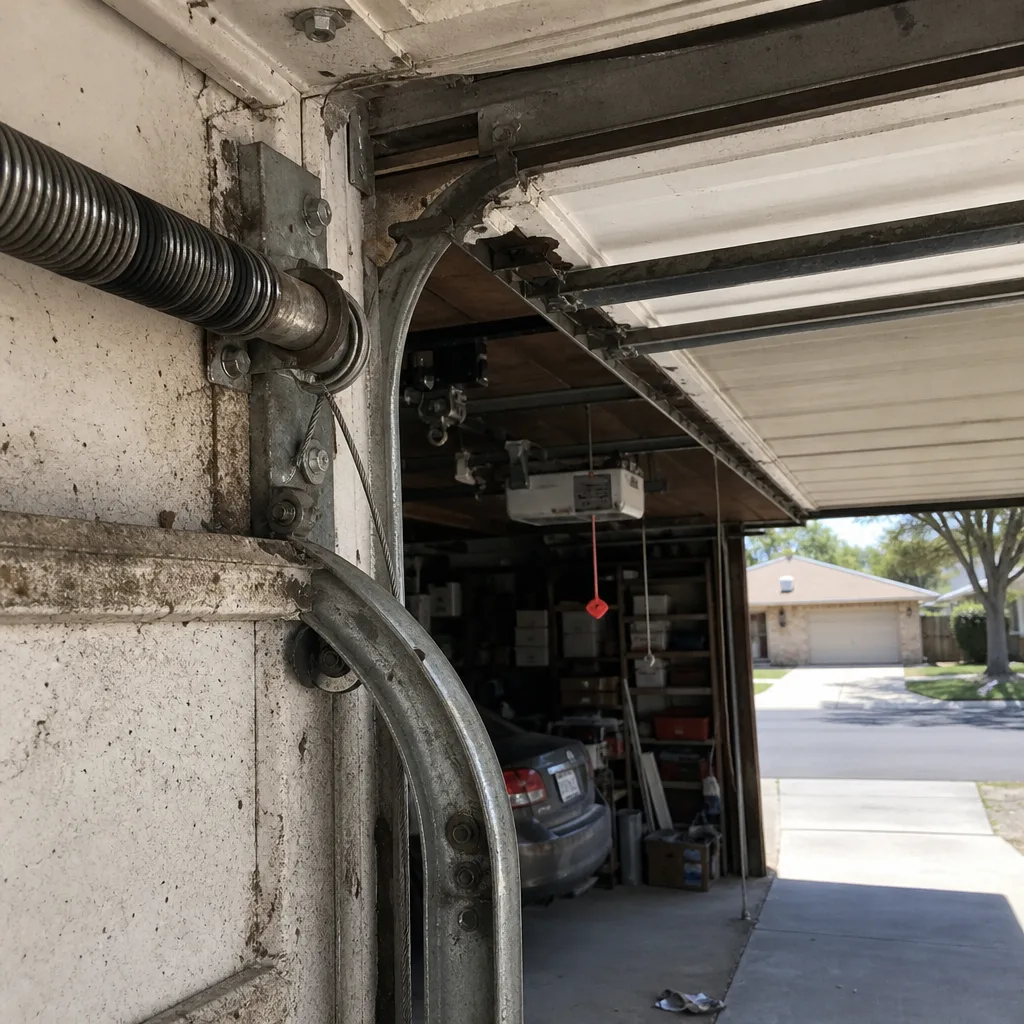 Before
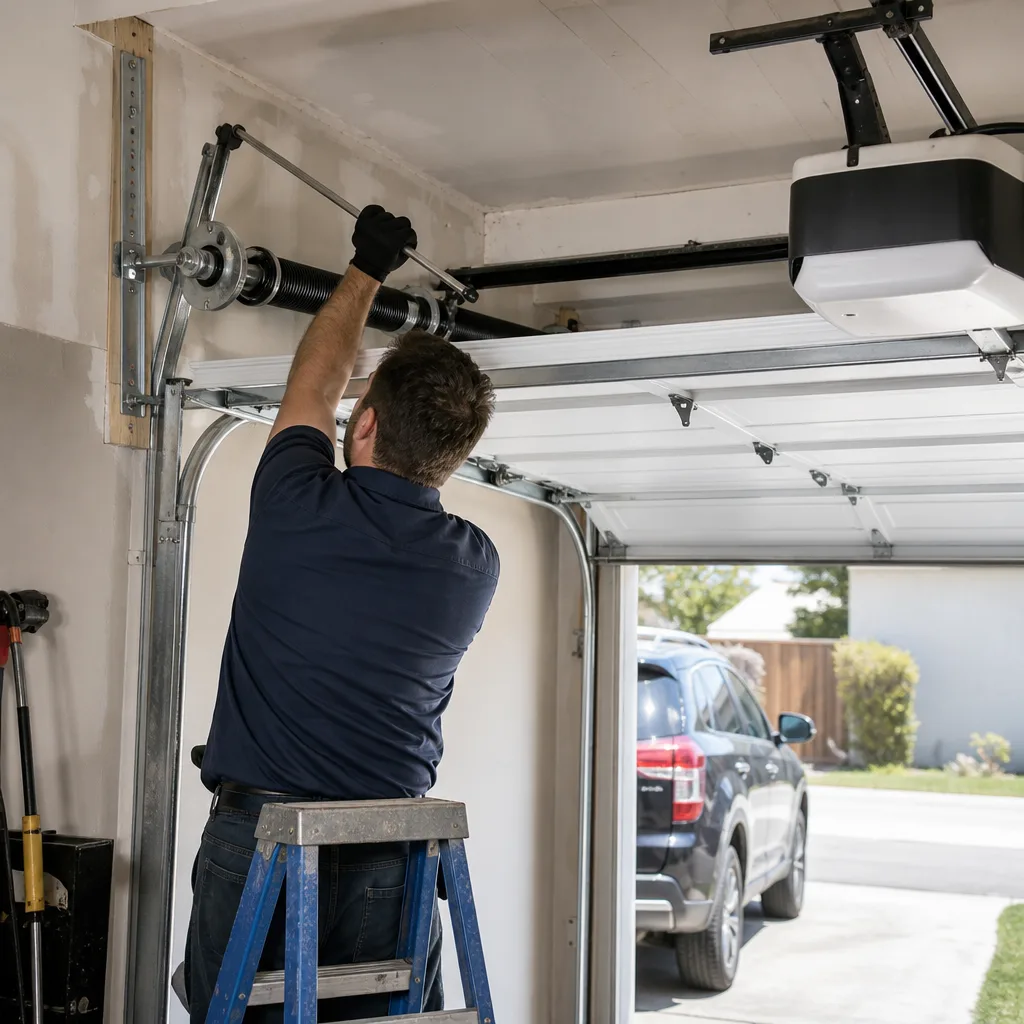 After
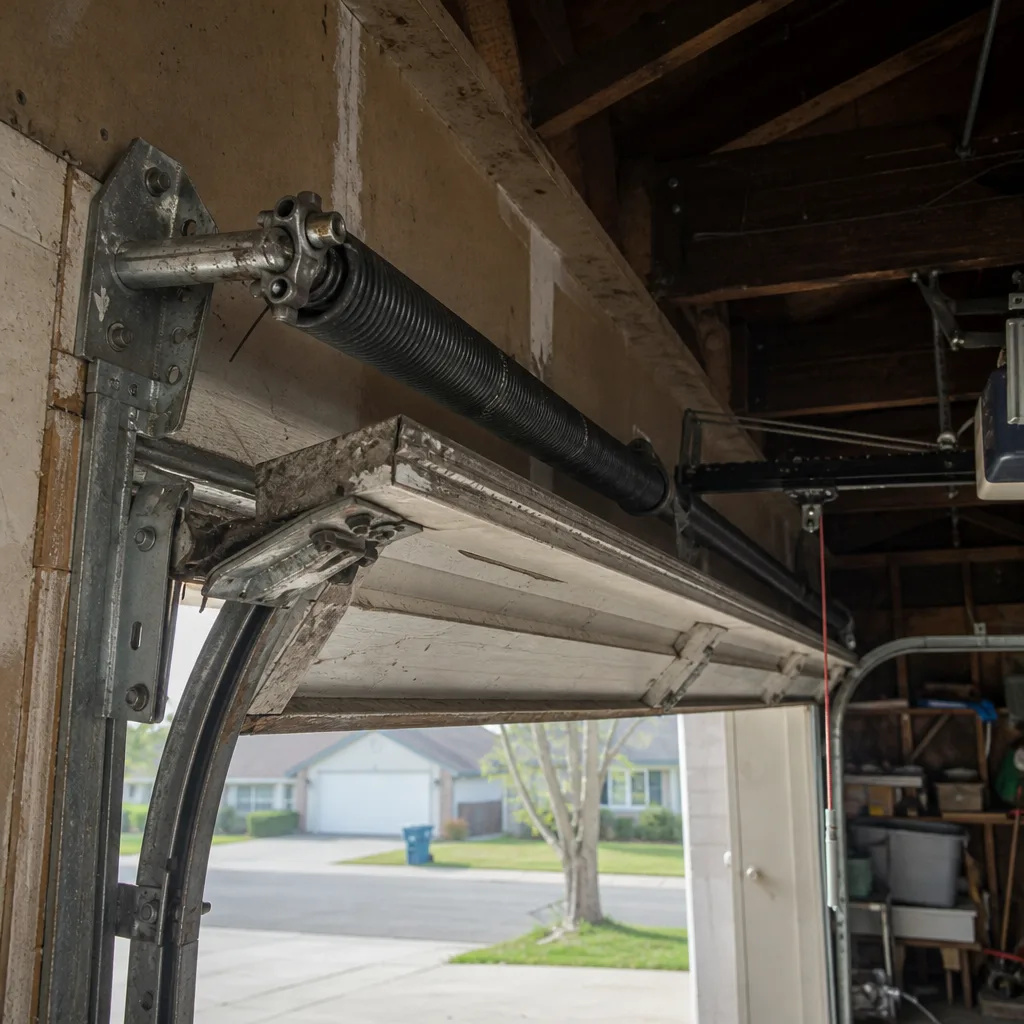 Before
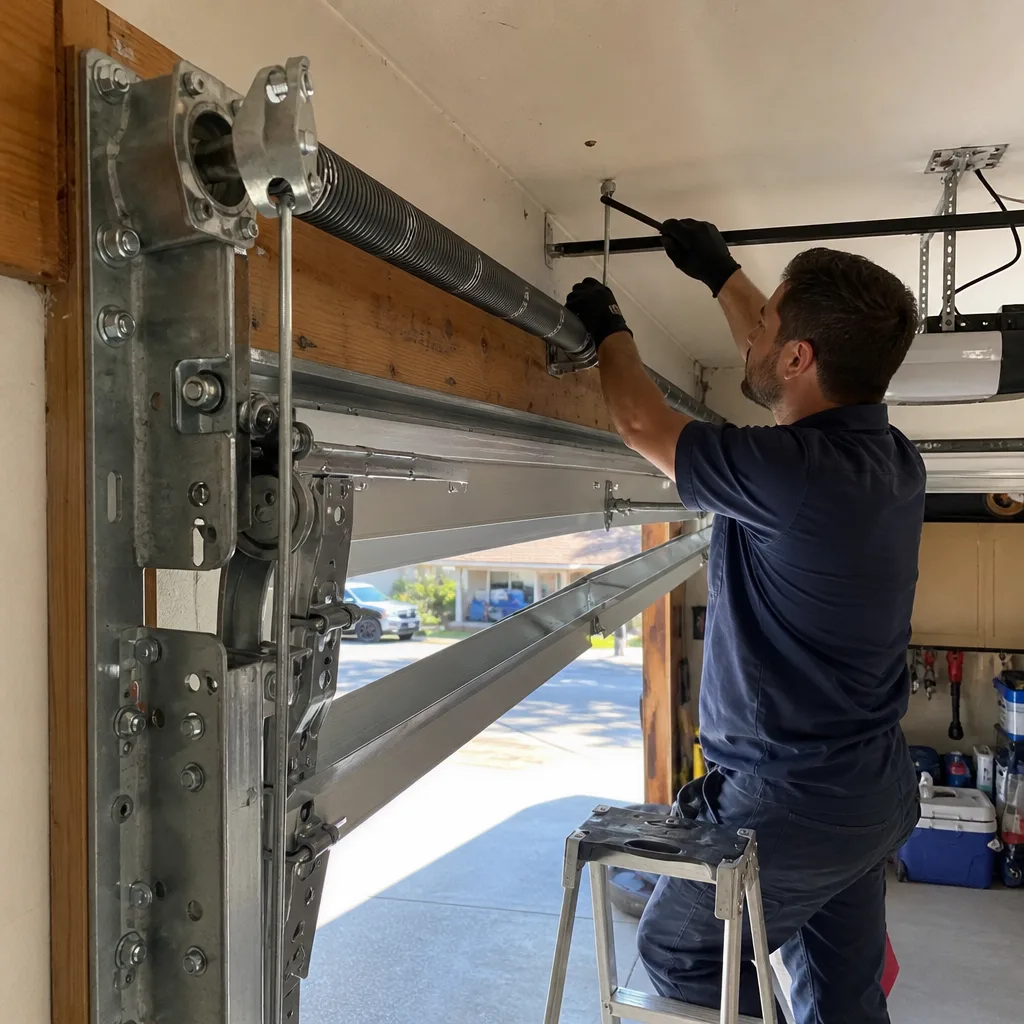 After
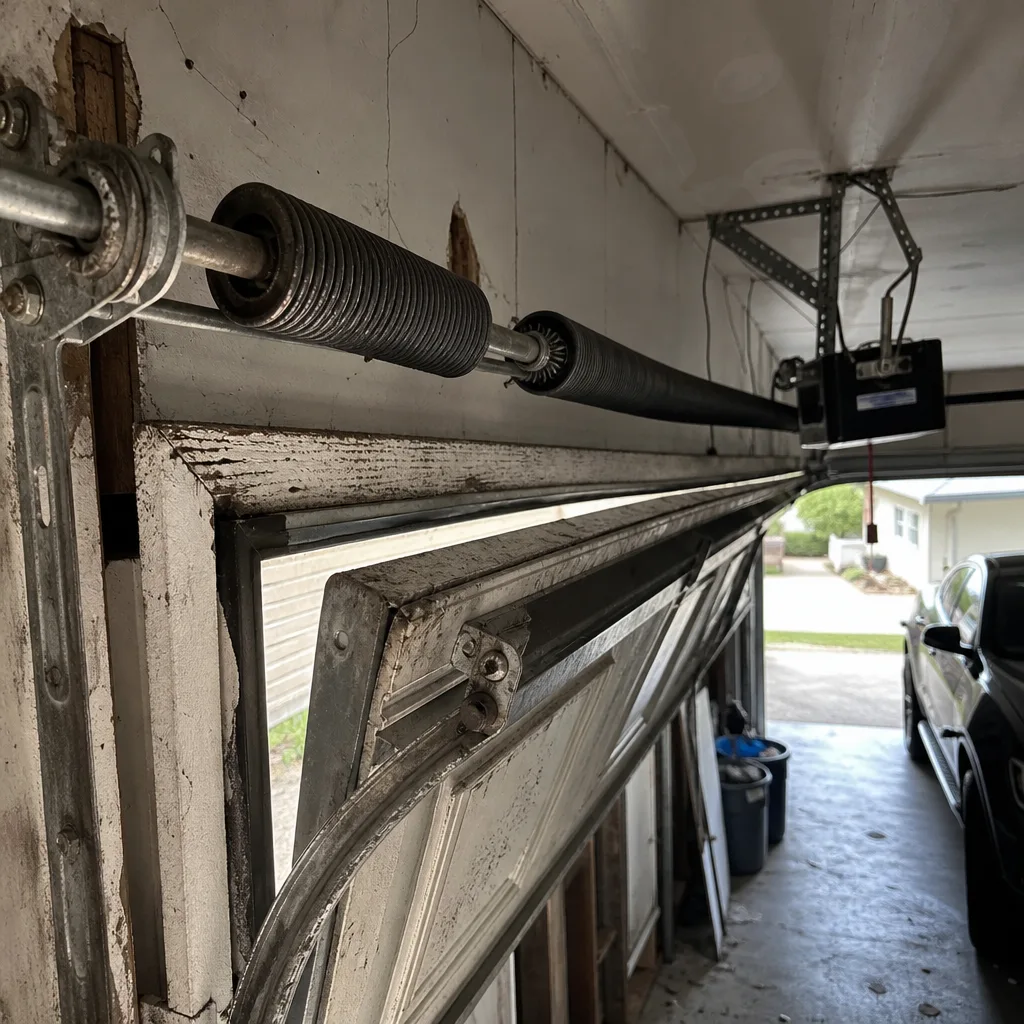 Before
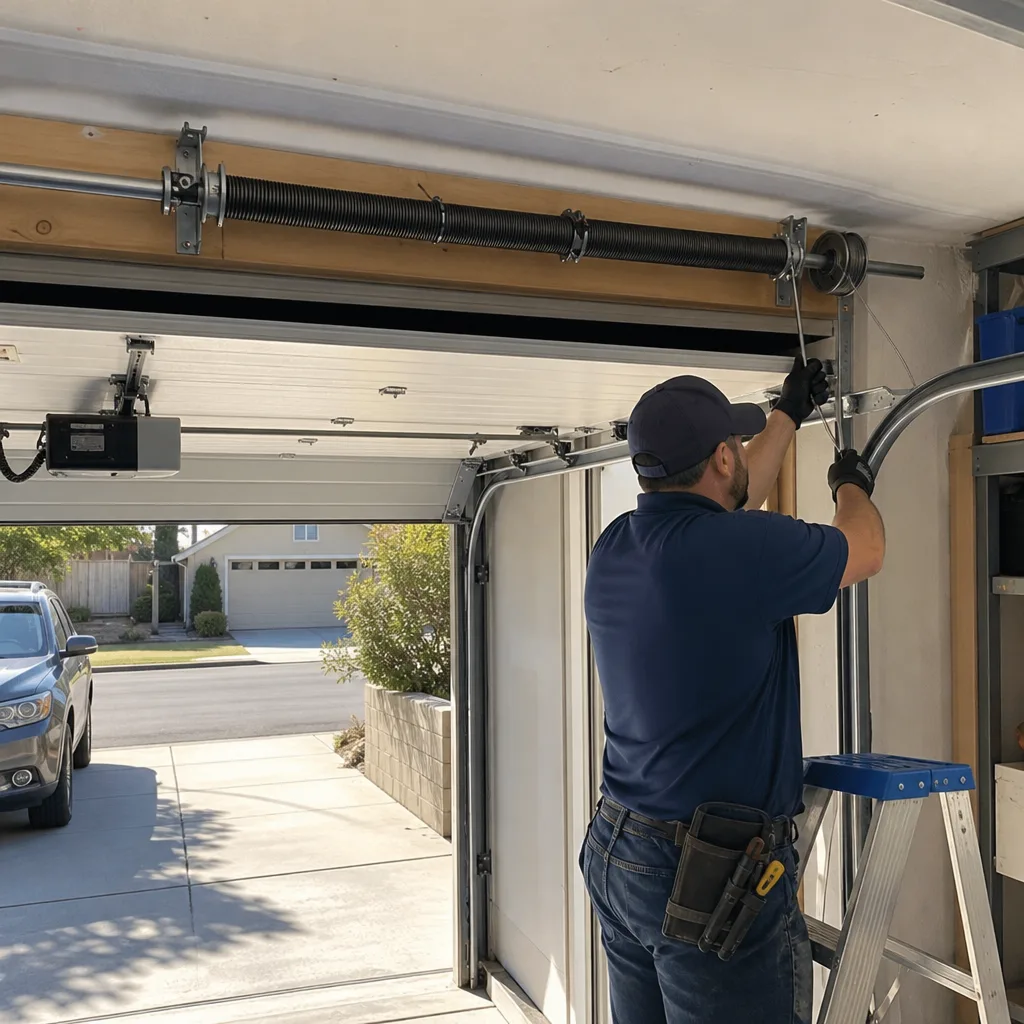 After
Frequently Asked Questions
Lubricate roller bearings and hinge pivots with white lithium grease every three months. In Midway’s dry climate, grease breaks down faster than in humid areas, and quarterly application keeps moving parts protected. Call (833) 589-9949 for a free maintenance assessment if you’re unsure your door is properly lubricated.
WD-40 strips the protective coating from torsion springs and accelerates rust. Rust weakens the spring coils, and a rust-compromised spring snaps without warning. If you’ve used WD-40 on your springs, wipe them down and apply white lithium grease, then schedule an inspection with a garage door specialist.
You can safely handle lubrication, weather stripping conditioning, hardware tightening, and visual inspections on your own. Spring adjustment, cable replacement, and opener motor work are professional jobs. The balance test tells you which category your door falls into, and the answer determines whether you need a technician.
Schedule a professional inspection once a year. An annual check by a technician who knows Midway’s housing stock and the specific brands on your door catches spring wear, cable fraying, and opener issues before they turn into failures. The cost of an inspection is a fraction of an emergency spring replacement.
A loud bang usually comes from the torsion spring binding or a bolt that’s worked loose from its bracket. Spring binding is dangerous and means a spring is nearing the end of its life. Stop using the door and call a specialist. Our garage door repair service in Midway can diagnose the source of the noise same-day in most cases.
Craftsman and Raynor doors use the same maintenance principles as any other residential door: white lithium grease on bearings and hinges, silicone on weather stripping, and regular visual inspections. The differences are in part quality and replacement availability, which is why working with a technician who knows the brand matters when something does fail. Wexford services Craftsman and Raynor among eight manufacturers, so we know the quirks of what’s on your Midway home.
The Bottom Line
Garage door maintenance in Midway comes down to specificity: the right product for the right part, on the right schedule. White lithium grease on hinges and roller bearings, silicone spray on weather stripping, and never aerosol oil on springs. Monthly cable checks, quarterly lubrication, a balance test every six months, and annual hardware tightening prevent most of the failures we see on service calls. Document what you do, respect what you shouldn’t touch, and call a specialist when the balance test fails or a cable shows fraying. A maintained garage door lasts years longer, operates quieter, and doesn’t surprise you with a snapped spring on a Monday morning.
Written by the team at Wexford Garage Door Repair, serving Midway since 2017.
For maintenance help, a free estimate, or a professional inspection of your garage door system in Midway, call us at (833) 589-9949. We’ll quote the price before any work starts.