
Last updated November 2, 2026
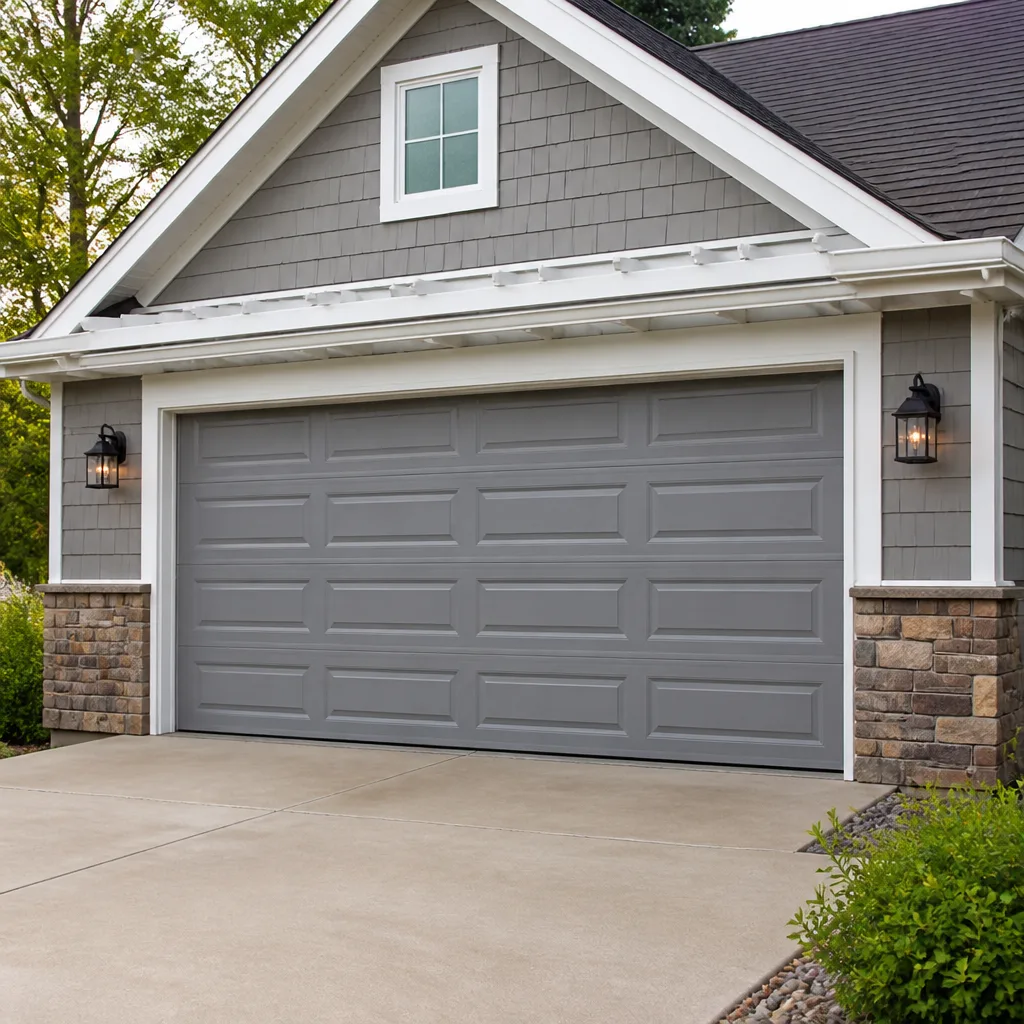 Raised-panel steel
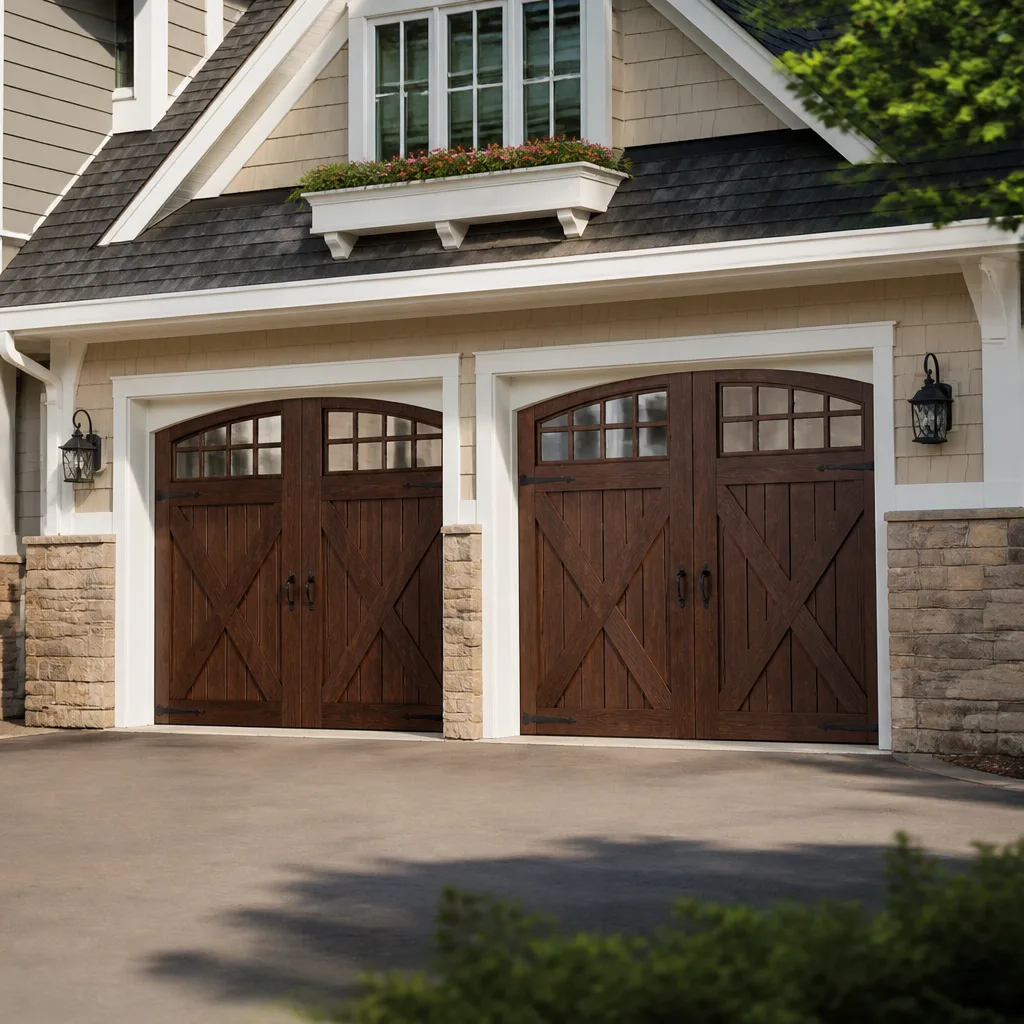 Carriage house
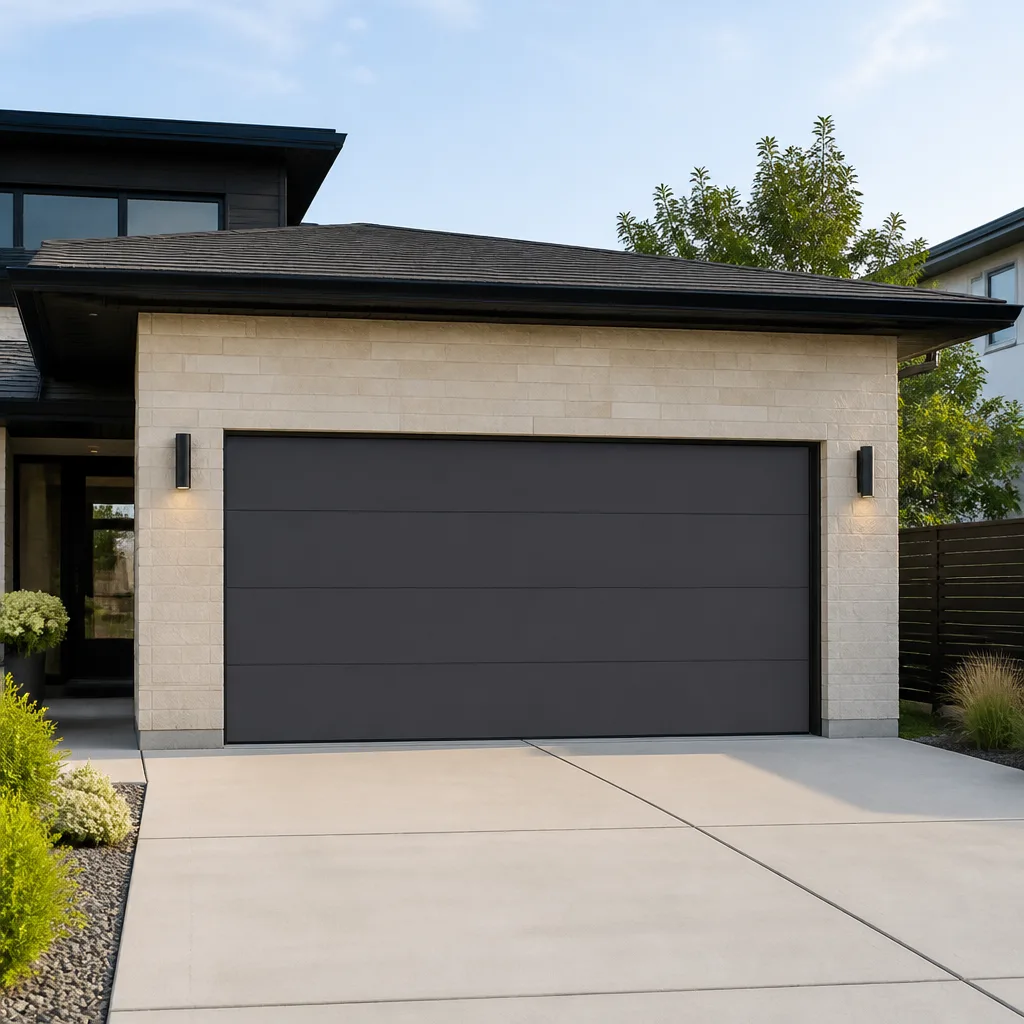 Modern flush
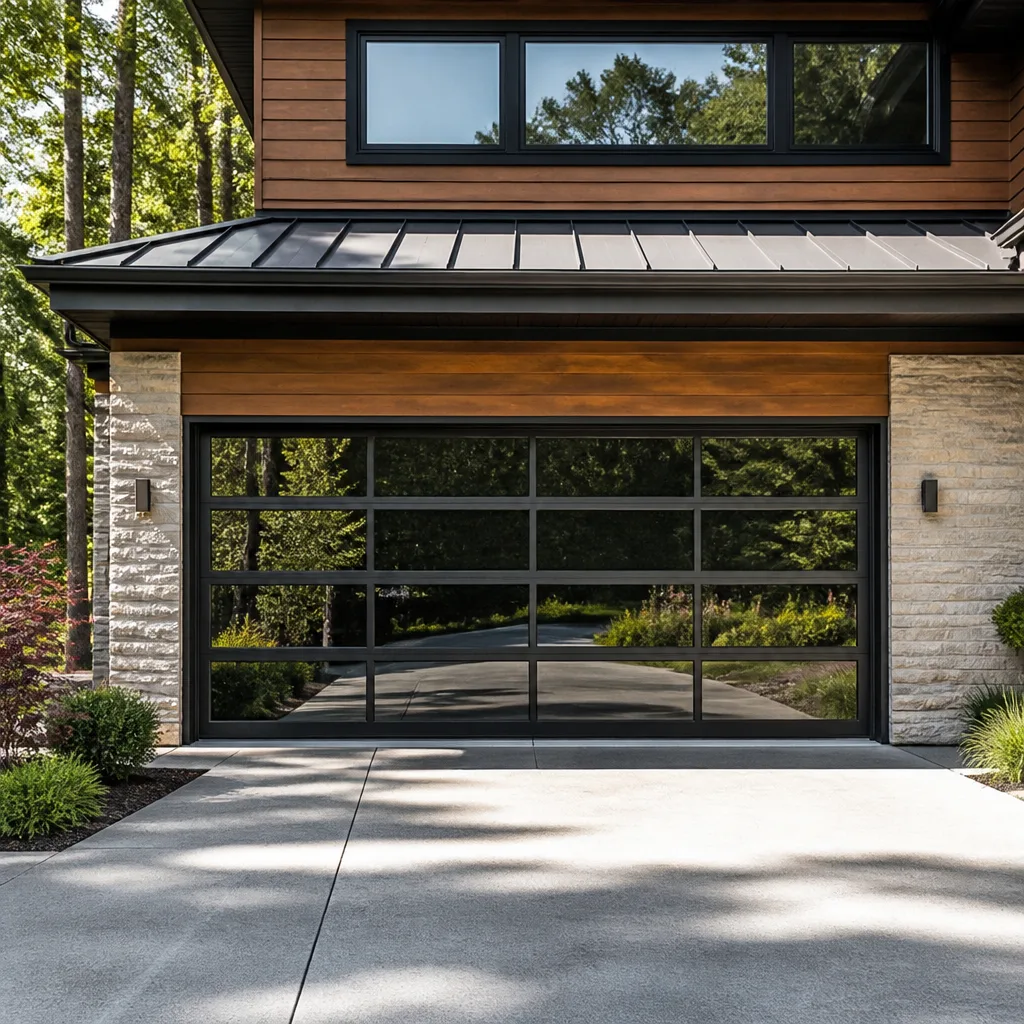 Full-view glass
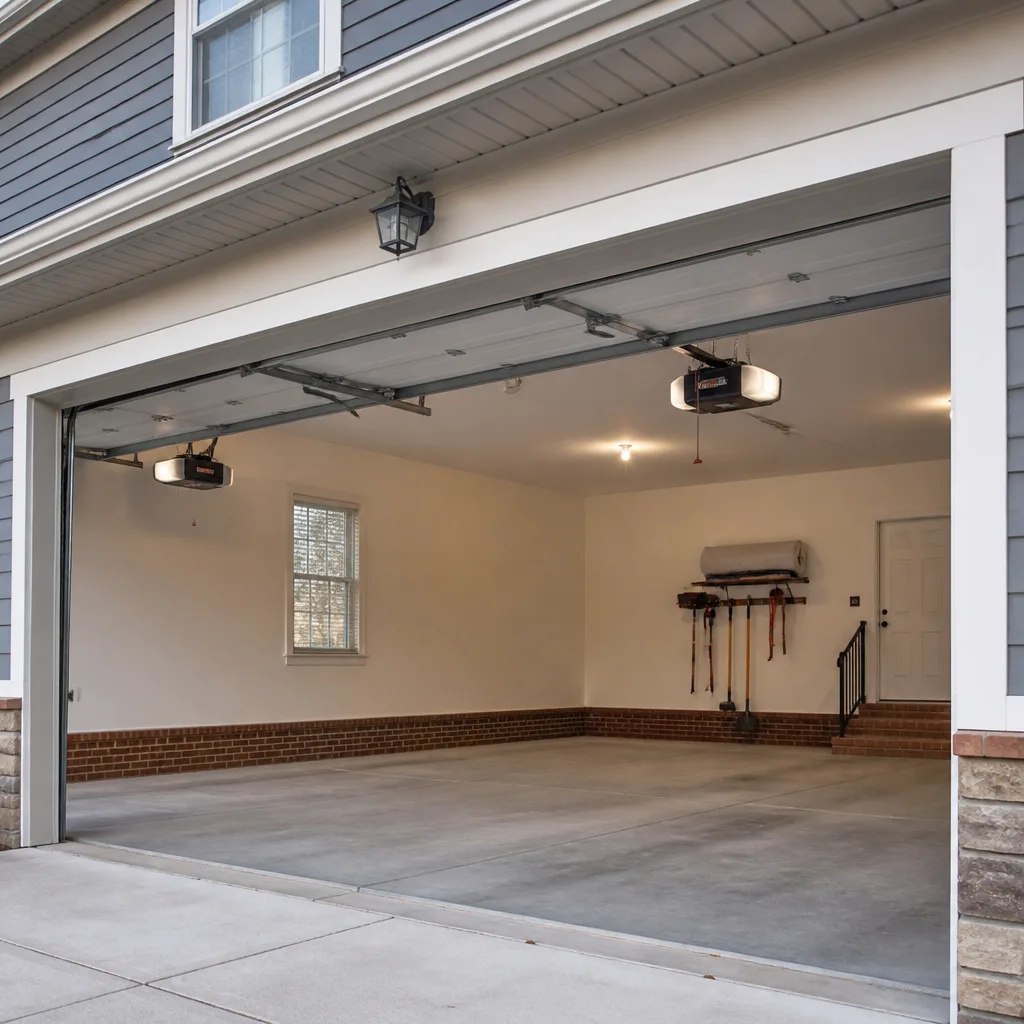 LiftMaster openers
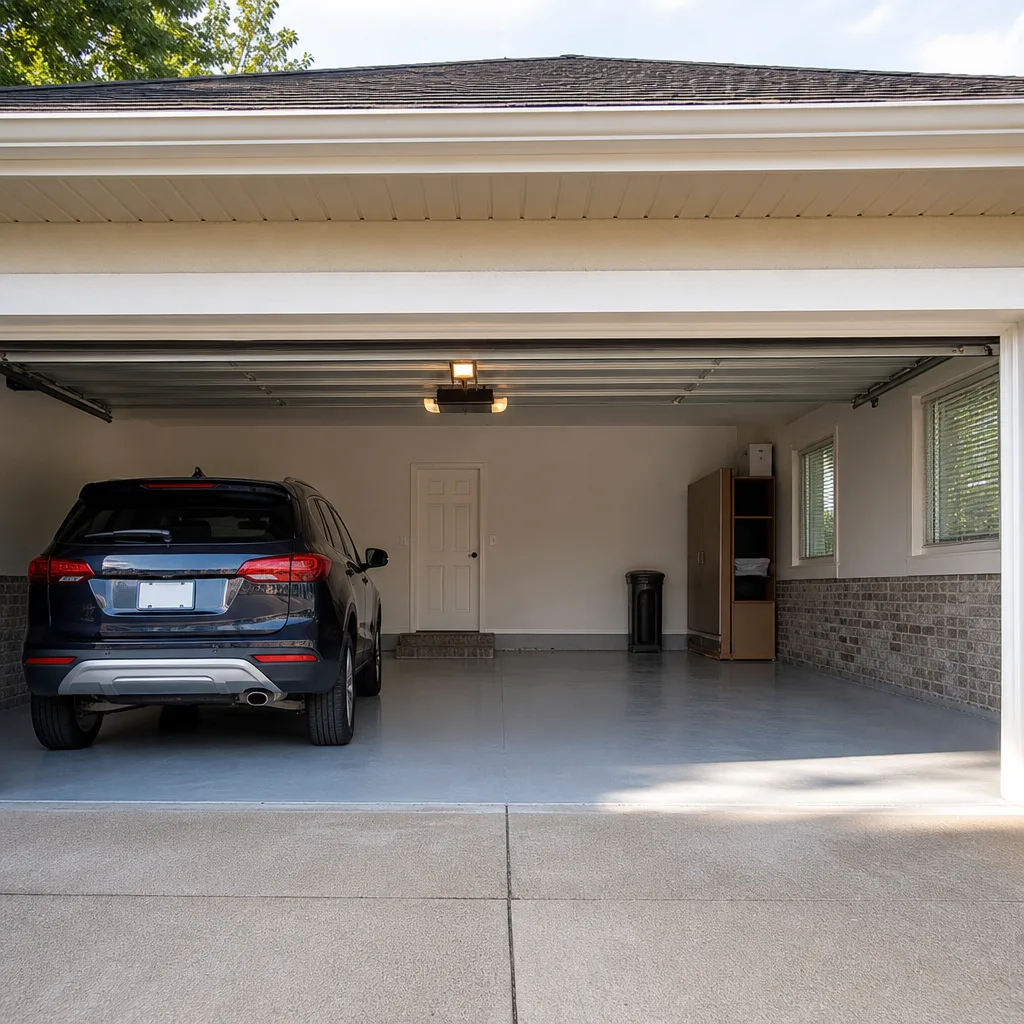 Chamberlain openers
Full 25-point door and opener safety check with every visit - springs, cables, rollers, tracks, and your LiftMaster or Chamberlain opener included
You get a price before we start. It does not change when the truck arrives.
Get your free estimateGarage Door Repair Troubleshooting: Common Problems and How to Fix Them
A garage door that reverses before hitting the ground isn’t broken. Its close-limit switch is miscalibrated. Knowing that one fact can save you a $150 diagnostic call. Most garage door failures trace back to a handful of components: springs, cables, rollers, tracks, sensors, limit switches, and the opener’s logic board. When you know which symptom points to which part, you stop guessing and start fixing. This guide walks you through exactly that process, written from years of our Garage Door Repair services across Midway garages where salt air and temperature swings between the coast and the valley put real stress on door hardware.
Styles & brands we work with
- Raised-panel steel
- Carriage house
- Modern flush
- Full-view glass
- LiftMaster openers
- Chamberlain openers
Quick Answer
Garage door repair troubleshooting starts with one question: is the problem mechanical or electrical? Pull the red manual disconnect cord and lift the door by hand. If it’s heavy, sticks, or won’t stay up, you have a mechanical issue (springs, rollers, track). If it moves freely by hand but misbehaves under opener power, you have an electrical or adjustment issue (sensors, limits, force settings, logic board). That single test isolates about 80% of all garage door problems before you touch a single tool.
Table of Contents
- The Symptom-to-Cause Matrix: What Your Door Is Telling You
- The Manual Disconnect Test: Isolating Mechanical from Electrical
- Reading Your Opener’s Error Codes: LiftMaster and Genie Translations
- Travel Limits and Force Settings: The Hidden Cause of “Won’t Close” Complaints
- Noisy Operation: Grinding, Squealing, and Rattling by Component
- Safety Sensor Problems: The Most Common Fixable Fault
- When a “Fixed” Door Is Actually Masking a Worn Spring or Cable
- Common Mistakes to Avoid
- When to Call a Professional
- Frequently Asked Questions
- The Bottom Line
The Symptom-to-Cause Matrix: What Your Door Is Telling You
Every garage door problem announces itself. The trick is listening to what it’s actually saying rather than what you assume it means – something we cover in depth in our Garage Door Warning Signs: A Midway Homeowner’s Reference Guide. In Midway, where homes range from 1980s builder-grade installations to recent custom builds, we see the same five symptoms recurring across every brand from budget Craftsman openers to premium Raynor door systems. Here’s what each symptom points to.
Noisy Operation
A garage door should open at roughly the volume of a conversation between two people. If yours sounds like a garbage disposal chewing through silverware, the noise source is specific. Grinding with a metallic edge usually means worn rollers, especially the cheap steel rollers that came factory-installed on builder-grade doors. Squealing that changes pitch as the door moves points to a dry or failing bearing either in a roller or the torsion tube. Rattling at specific points in the travel indicates loose track bolts or hinge bolts that have backed out over years of vibration. In coastal Midway air, we also see accelerated rust on roller bearings, which turns a small noise problem into a binding problem within a season.
Slow Movement
When a door that used to open in 12 seconds suddenly takes 20, homeowners often blame the opener motor. That’s wrong in most cases. The opener motor is a constant-speed device. If it’s slowing down, something is adding resistance, or the motor itself is failing due to age. A door that slows specifically in the last two feet of travel usually has a track that’s pinching, often from a loose mounting bracket letting the vertical track drift inward. A door that’s slow across the whole range points to worn rollers adding friction, a spring that’s lost tension (so the opener is now lifting more weight than it was sized for), or an opener motor with tired capacitor. In our experience with LiftMaster units in Midway, capacitors fail gradually, and the first symptom is exactly this: a door that gets progressively more sluggish over weeks.
Partial Opening
A door that opens a foot or two and stops is almost never the opener “giving up.” It’s the opener’s force-sensing circuit doing its job and shutting down when resistance exceeds a preset threshold. The underlying cause is usually mechanical: a broken spring that’s left the door far heavier than the opener can lift, a cable that’s jumped its drum and is now binding, or a track that’s been knocked out of alignment by a car bumper or a stray basketball. If you have a Chamberlain opener, pay attention to whether the lights flash when it stops. A specific flash count is a diagnostic code (more on that below).
Full Refusal to Move
Door does nothing when you hit the button. No hum, no click, no movement. Before you assume the motor is dead, check the obvious: is the opener’s power cord plugged in, and is the GFCI outlet it’s connected to tripped? In Midway garages, openers are frequently wired into the same circuit as old fluorescent lights or a freezer, and a tripped breaker kills the whole circuit. If power is confirmed and the door still won’t move, the problem is usually the logic board, the wall button’s wiring, or a failed safety sensor that’s incorrectly signaling an obstruction. A motor that hums but doesn’t move a door with an intact spring is typically a failing start capacitor or a stripped gear.
Remote Failure
Remote won’t open the door, but the wall button works fine. This is almost never a “broken garage door.” It’s a communication problem between remote and receiver. The usual culprits: a dead remote battery, a remote that’s lost its programming after a power surge, or interference from a new device in the home (some LED bulbs and certain smart-home hubs generate radio interference in the same frequency band). On LiftMaster and Chamberlain MyQ systems, a remote that works intermittently can also indicate the opener’s receiver board is degrading. We’ve replaced more receiver boards in Midway in the last three years than in the previous decade, often right after homeowners installed new smart security systems.
The Manual Disconnect Test: Isolating Mechanical from Electrical
This is the single most useful diagnostic step any homeowner can perform, and it costs nothing. Every garage door opener installed in the last 40 years has a manual disconnect: a red cord hanging from the trolley or carriage. Pulling it disconnects the door from the opener’s drive mechanism, letting you operate the door entirely by hand.
- Close the door first if it’s open. Never pull the disconnect cord while the door is in the raised position unless you’re prepared to support the door’s full weight, which can exceed 150 pounds.
- Pull the red cord straight down. You’ll hear or feel the carriage release from the drive chain, belt, or screw.
- Lift the door by hand from the handle, not the top edge. A properly balanced door should rise smoothly, stay at three to four feet off the ground without being held, and come down under control without slamming.
- Run the door through its full range of motion by hand. Feel for sticking, hear for grinding, watch for the door tilting to one side.
If the door is heavy, hard to lift, or falls when you let go, you have a spring or cable problem. The springs, not the opener, do the heavy lifting. A door that weighs what it should be “weightless” is a door with a broken or worn torsion spring. This is a mechanical issue that no opener adjustment can fix. If the door moves smoothly and easily by hand but misbehaves when reconnected to the opener, your door is mechanically sound and the issue is electrical or adjustment-based. That distinction alone saves Midway homeowners hundreds in unnecessary service calls. We use this exact test on every diagnostic visit, and the Garage Door Repair in Midway page walks through what happens after you’ve identified which side the problem is on.
Reading Your Opener’s Error Codes: LiftMaster and Genie Translations
Modern openers speak to you. You just need the translation. Both LiftMaster and Genie units use blinking lights or digital displays to signal specific fault conditions. Here’s what the most common codes mean.
LiftMaster and Chamberlain Error Codes
- One flash (up arrow): Door is at its full open position and the opener thinks it’s already open. If the door is actually closed, the travel limit is mis-set and the opener doesn’t know where the door is.
- Two flashes (up arrow): Safety sensor obstruction or misalignment. The sensor beam is broken, the lenses are dirty, or the sensors have drifted out of alignment with each other.
- Five flashes (up arrow): Motor overheat. The opener’s thermal protection has engaged because it worked too hard for too long. Let it cool for 15 minutes, then address why it was working too hard (usually a spring issue).
- Six flashes (up arrow): Logic board fault. The opener’s brain has registered an internal error. Power-cycle by unplugging for 30 seconds. If it reoccurs, the board likely needs replacement.
Genie Error Codes
- One red flash, long pause, repeat: Sensor obstruction detected. Same causes as LiftMaster: misalignment, dirt, or a broken sensor wire.
- Two red flashes: Door balance or force issue. The opener detected a higher-than-normal load, which often means a weakening spring.
- Three red flashes: The opener’s internal temperature exceeded safe limits. Overheating from a heavy door or a failing capacitor is the usual cause.
- Four red flashes: The RPM sensor inside the motor housing is failing. This is an opener-level repair, not a door-level problem.
Make and model matter here. A homeowner who calls and says “my Genie is flashing twice” saves themselves 20 minutes of phone diagnosis because a technician knows immediately that it’s a force-sensing issue. That’s the kind of brand-specific fluency that makes troubleshooting faster for everyone. For Garage Door Opener Repair in Midway, knowing the code before you call shapes the entire service approach.
Travel Limits and Force Settings: The Hidden Cause of “Won’t Close” Complaints
The most common “my door won’t close” call we get in Midway is not a broken door. It’s a door whose travel limits have drifted. Here’s the background: openers have adjustable limits that tell the motor where “closed” and “open” are. Over time, with temperature changes and repeated cycles, these settings can wander. A door that reverses before touching the ground typically has a close-limit setting that’s now too low, which makes the opener think it’s already reached the floor and should reverse. A door that closes but then immediately reopens has a force-setting issue: the opener senses resistance when the door touches the ground and interprets it as an obstruction.
Adjusting travel limits is straightforward on most openers. On LiftMaster and Chamberlain units, it’s done with the arrow buttons on the back of the motor housing, often while holding the adjustment button until the light blinks. On Genie openers, the process differs by model year. On older Craftsman units, you’re looking for a pair of flat-head screw adjustments on the side of the unit. The key safety principle: adjust the close limit so the door fully seats on the floor with the bottom seal compressing slightly but not driving the door into the concrete. If you adjust the limit and the door still reverses at the floor, the issue is the force setting. Increase the close force incrementally, but never to the point where the door doesn’t reverse when it meets actual resistance, like a rolled-up garden hose or a child’s toy. That reversal is a safety feature. Disabling it by cranking the force to maximum is how people get hurt and doors get destroyed.
A related and far more serious cause of “won’t close” is a cable that’s jumped its drum. When a cable comes off the drum at the end of the torsion bar, the door drops crookedly and the opener stops immediately. You can see this by looking at the cables on each side of the door while it’s in the half-open position. If one cable is slack and the other is taut, do not operate the door. A cable under that kind of uneven tension can snap and whip with lethal force. Call a professional.
Noisy Operation: Grinding, Squealing, and Rattling by Component
Noise is diagnostic gold. Each sound maps to a component, and once you know the map, you can often identify the fix without ever taking a panel off the door.
Metal-on-Metal Grinding
This is almost always rollers. Factory steel rollers without ball bearings grind against the track, and the noise gets worse as the track gets dirty or the roller wears flat spots. Fix: replace with nylon rollers with sealed ball bearings. It’s a one-hour job for a technician and transforms the noise level of the entire system. In Midway’s salt air, we recommend replacing factory steel rollers on any door over ten years old whether they’re grinding yet or not. They’re on borrowed time.
High-Pitched Squeal
A squeal that’s consistent in pitch and present through most of the travel range indicates a bearing. On torsion-spring doors, there are two end-bearing plates that the torsion tube spins inside. When those bearings dry out and fail, they scream. On some Wayne Dalton and Raynor doors, the end plates are riveted to the track, making bearing replacement a more complex job than the average homeowner should attempt. A squeal from the opener head itself points to the drive belt tensioner or the motor bearing, which is opener-level work.
Intermittent Rattle
Rattling that happens at specific points in the travel, usually when the door hits a certain panel position, means something is loose. The usual suspects: hinge bolts backing out over years of use, track brackets that have come loose from the wall or ceiling, or bolts where the horizontal track meets the vertical track. Grab each bolt on a hinge with a socket wrench and check for movement. A bolt that spins freely was holding on by thread-locker that’s long since given up.
Thumping or Banging at the Bottom of Travel
A door that slams the last few inches into the ground is telling you the spring has lost tension. The spring should ease the door down gently. When it doesn’t, that’s not just noise. It’s a warning that the spring is near failure. Springs don’t get better. In our experience in Midway, a door that starts slamming in the fall will typically have a full spring break by spring. Addressing it early costs a spring adjustment. Addressing it late costs a spring replacement and potentially a damaged door panel from the uncontrolled drop.
Safety Sensor Problems: The Most Common Fixable Fault
Safety sensors are the single most common cause of “my door won’t close or reverses immediately.” They’re also the easiest thing to check, which is why they should be step one in any troubleshooting process. The sensors sit on either side of the door opening, about four to six inches above the floor. They project an invisible infrared beam from one to the other. If that beam is broken or misaligned, the opener refuses to close the door because it’s been told, correctly, that something might be in the way.
The most common sensor failures in order of frequency: misalignment (one sensor gets knocked slightly out of line and no longer points squarely at its partner), dirty lenses (dust, spider webs, or grass clippings from the edger interfere with the beam), sun interference (direct sunlight hitting the receiving sensor on certain afternoons can blind it, a surprisingly common issue on west-facing Midway garages), and wire damage (the low-voltage wire runs along the door track and gets snagged or chewed by rodents). Fixing the first three costs nothing and takes under five minutes. Wipe the lenses with a dry cloth, verify both sensors have their indicator lights solid (not flickering), and gently re-aim each sensor until the receiving light goes solid. If you have a Wayne Dalton or Craftsman unit where the sensor lights don’t come on at all, check for a tripped GFCI or a disconnected wire at the opener head before you assume the sensor itself is dead.
When a “Fixed” Door Is Actually Masking a Worn Spring or Cable
Here’s a scenario we see repeatedly in Midway: a homeowner adjusts their opener’s force setting to compensate for a door that’s getting harder to lift. It works. The door starts closing again. Three weeks later, the spring snaps, and the full weight of a 200-pound door comes down on whatever’s underneath it. That force-setting adjustment didn’t fix anything. It masked a spring that was failing. The opener was now working harder to compensate for a spring that had lost perhaps 30% of its tension. When the spring let go entirely, the door was unprotected.
Springs have a finite lifespan measured in cycles, not years. A standard torsion spring rated for 10,000 cycles lasts a family of four about seven to eight years. In Midway’s climate, with its temperature swings, lifespan drops somewhat. If your door is in that age range and you’re noticing any of these symptoms, the spring is likely the culprit and no adjustment will save you: the door feels heavy when disconnected from the opener; the door slams the last few inches on closing; the door creaks loudly at the halfway point on opening; or you see a visible gap in the torsion spring coil, meaning it’s already broken and the two halves are now operating as a single shorter spring that will fail completely.
The same logic applies to cables. A cable that’s fraying for weeks before it snaps will look jagged and rusty at the break point. A cable that snapped cleanly at the bottom fixture was probably stressed by a door that was out of balance. Replacing a snapped cable without addressing the underlying spring imbalance means the new cable will snap again, often within a month. This is why a proper repair always checks the whole system. Repairing one component in a worn system is how you get repeat failures and, eventually, a door that fails catastrophically. For high-tension springs and cables, the safety rule is simple: these parts are under extreme load at all times, and working on them without proper winding bars and experience has caused serious injuries. Do not attempt a DIY spring replacement. This is where even experienced handymen call specialists.
Common Mistakes to Avoid
- Adjusting force settings to compensate for a heavy door. Force adjustments exist to fine-tune safety sensitivity, not to restore lift power. If your door is getting heavier, your spring is failing. Cranking the force simply lets the opener damage itself while the spring gets worse.
- Lubricating the track. The track is not a lubrication point. Grease on the track attracts dirt and creates a sticky paste that makes the rollers bind. Lubricate the roller bearings, hinges, and spring coils with a garage door specific spray, not the track itself.
- Replacing one spring on a two-spring door. Both springs wear at roughly the same rate because they’ve cycled the same number of times. Replacing one leaves you with a mismatched spring system, uneven lifting force, and a second failure within a year. Replace springs in pairs.
- Ignoring a door that reopens after closing. This is not a minor annoyance. It means the safety system is working but the door’s closing behavior has changed, which usually traces back to limit drift, sensor misalignment, or a cable issue. The longer you ignore it, the more damage accumulates.
- Using the garage door as the primary entrance to the home. Every open-close cycle burns spring life. Homes in Midway where the garage door is the front door see spring failures in half the time of homes where cars actually use the driveway.
- Unplugging the opener to reset a problem and calling it fixed. Power-cycling clears the error code, not the problem. A door that works after a reset still has the same underlying fault. The next time it happens, make a note of the blink code before you reset it. That code is the clue.
- Attempting a DIY spring or cable replacement. Torsion springs hold enough tension to break bones or kill. Cables under load can snap and whip across the garage. This is the line in the sand. Everything else in this guide is fair game. Spring and cable work requires specialized tools and training, full stop.
When to Call a Professional
Most of what’s in this guide is achievable for a competent homeowner with basic tools and patience. But there are clear lines. Call a professional for anything involving torsion springs, cables under tension, or a door that’s come off its track while in the raised position. Those are the three scenarios where amateurs get hurt, and no amount of YouTube training changes the physics. Also call if you’ve tried the sensor and limit adjustments and the problem persists. Multiple failed adjustments usually indicate a failing logic board or a deeper mechanical issue that needs a trained eye. Garage Door Installation in Midway also matters here: if your door is over 15 years old and the repair estimate approaches 40% of replacement cost, a new door with a modern safety system is the smarter financial move. Wexford Garage Door Repair offers free estimates in Midway, call (833) 589-9949, and we’ll tell you honestly whether repair or replacement makes sense for your specific door, your budget, and your home’s future.
Frequently Asked Questions
The close-limit setting has drifted, making the opener think it’s already reached the floor and should reverse. Adjust the close limit slightly downward until the door seats fully, or check your safety sensors if the reversal happens with flashing lights. This is the most common fixable garage door issue and usually takes under ten minutes. If you’ve adjusted limits twice and the problem returns, call us at (833) 589-9949 because something else is shifting, usually a worn gear.
Most garage door repairs in Midway land between $120 and $350 depending on the component. Sensor realignment runs toward the low end. Roller replacement of a full set lands mid-range. Spring replacement runs $250 to $400 for a pair. Logic board replacement starts around $180. Those ranges reflect what we actually quote for our service area. Call (833) 589-9949 for an exact number on your specific issue.
Disconnect the door using the red manual release cord and try to lift it by hand. A door with healthy springs should lift easily and stay in place at chest height. If it’s heavy, wants to fall, or you see a visible gap in the spring coil above the door, the spring has failed. Do not attempt to open or close the door under opener power with a broken spring, because it will damage the opener. Spring replacement is a professional job, full stop.
Sudden noise is usually a failing component, not a lubrication issue. A new grinding sound means a roller has worn through. A new squeal means a bearing is seizing. A new banging at the floor means the spring has lost tension. Sudden noise is the door asking for attention before the component fails completely. It will not get quieter on its own.
Yes for most electrical adjustments: travel limits, force settings, sensor alignment, and remote programming are all homeowner-accessible on LiftMaster, Chamberlain, Genie, and Craftsman units. No for anything involving the opener’s internal motor, gear, or logic board. Those components require diagnostic equipment that identifies the fault before parts are thrown at the problem. If you’re in Midway and uncertain, the Wexford Garage Door Repair home page outlines the full scope of opener service we provide.
Once a year, ideally before the winter rain season when humidity and temperature swings put maximum stress on springs and cables. A service visit should include a spring tension check, roller and hinge inspection, cable inspection, track alignment verification, sensor cleaning, and force-setting verification. Annual service typically costs less than half of what an emergency spring replacement costs, and it prevents the spring failure in the first place. Wexford Garage Door Repair offers free estimates in Midway. Call (833) 589-9949 to schedule a service visit.
The Bottom Line
Garage door troubleshooting is a matching exercise: the symptom tells you the component, and the component tells you whether it’s a maintenance item, a repair, or a replacement. The manual disconnect test is your most powerful diagnostic tool, error codes are your second, and knowing which brands you’re working with makes every step faster. Most “won’t close” problems are limit or sensor issues, most noise problems are rollers, and most sudden failures are springs. Fix the cause, not the symptom. When you’re past the line where DIY is safe, call a specialist who works only on garage doors. That’s us. Wexford Garage Door Repair serves Midway with repair, opener service, and installation across all major brands. Call (833) 589-9949 for a free estimate, and you’ll get a straight answer about whether your door is worth fixing or time to replace.
Written by the team at Wexford Garage Door Repair, serving Midway since 2017.
See the difference
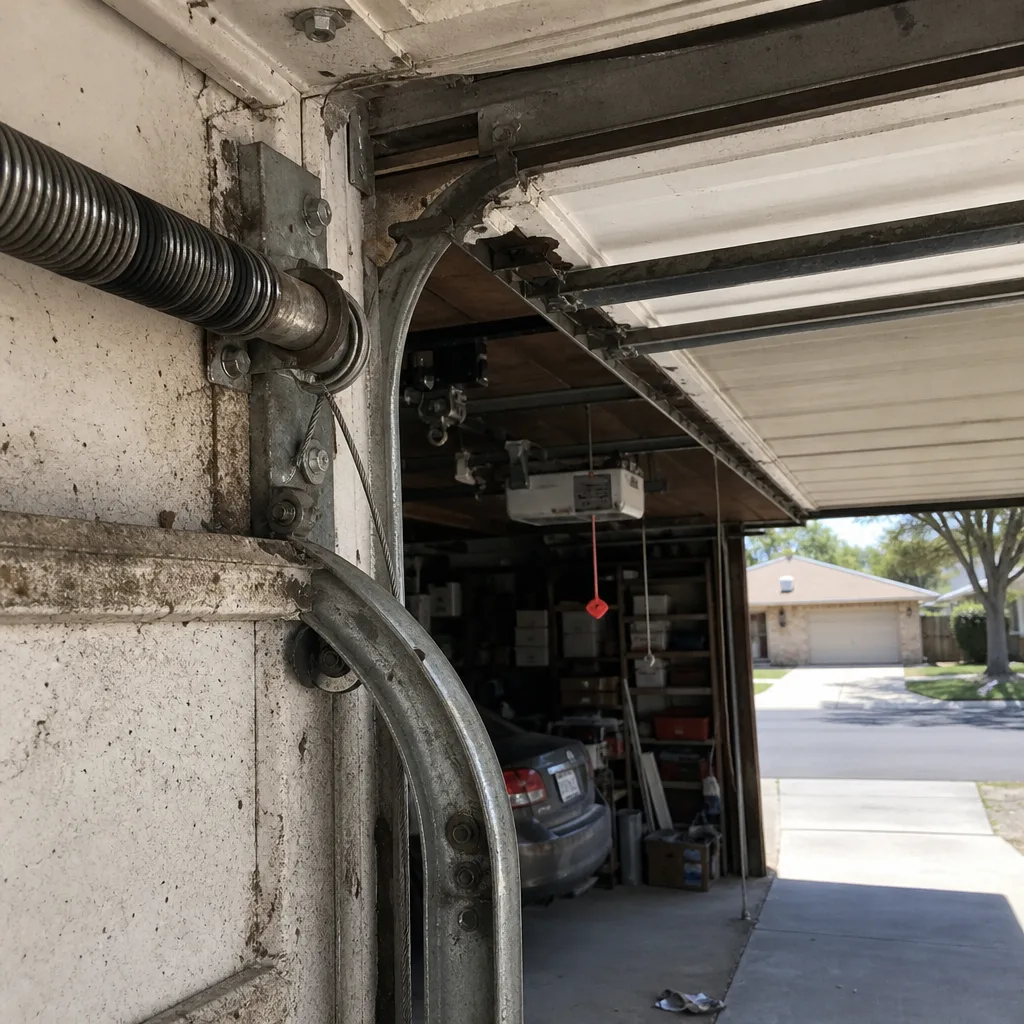 Before
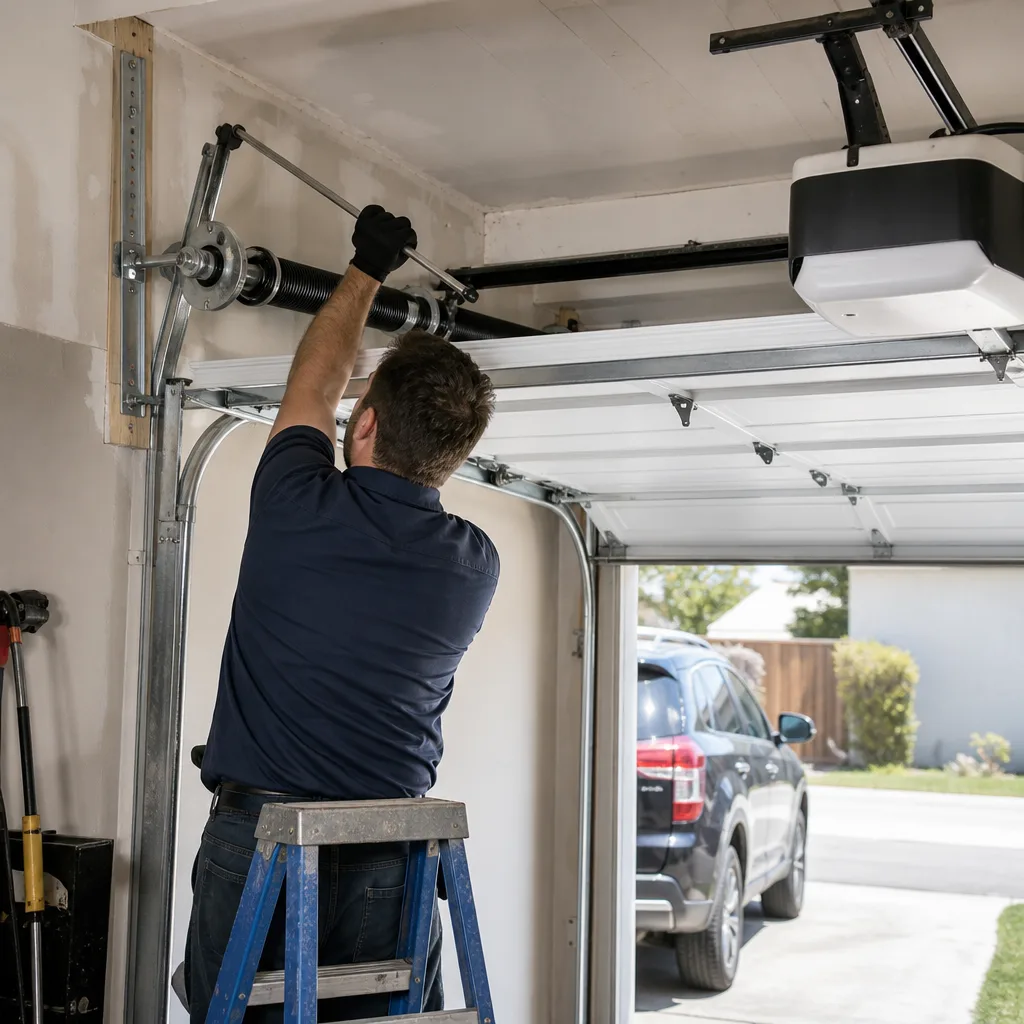 After
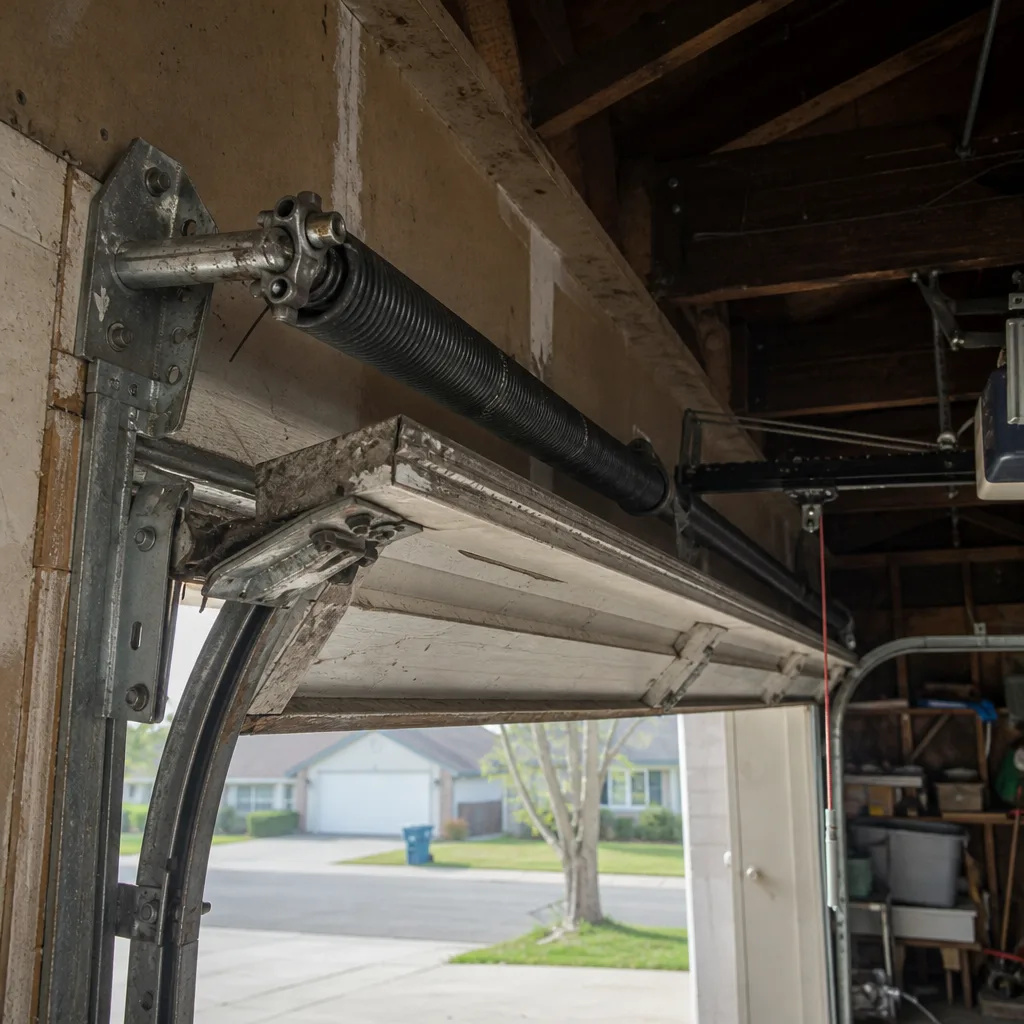 Before
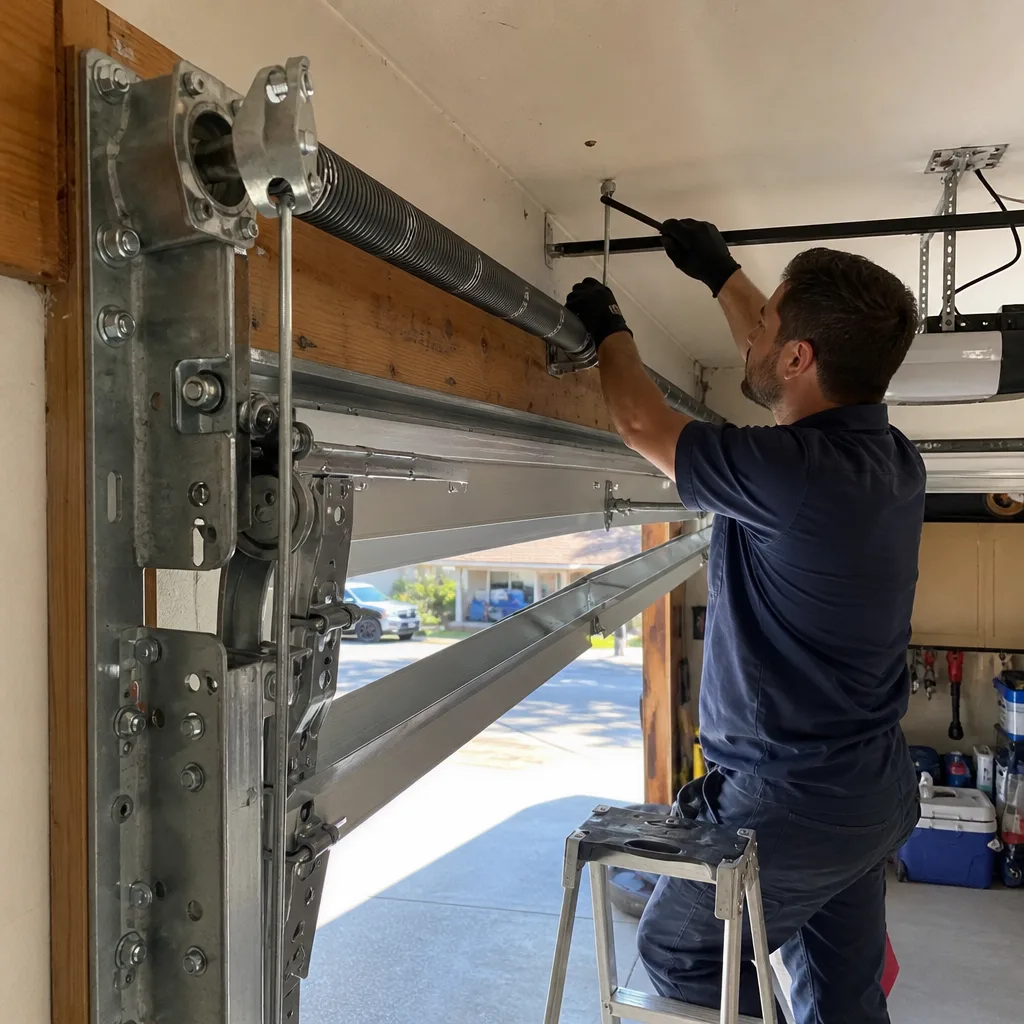 After
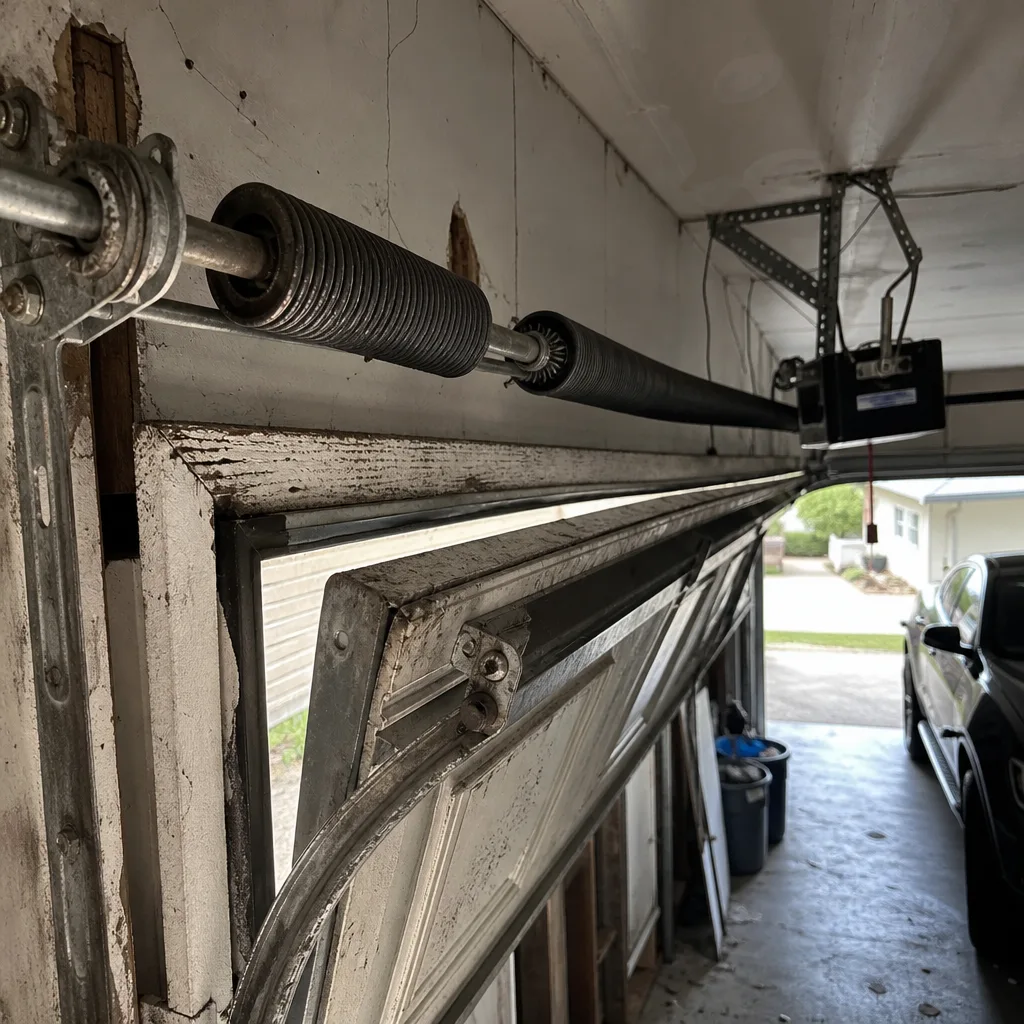 Before
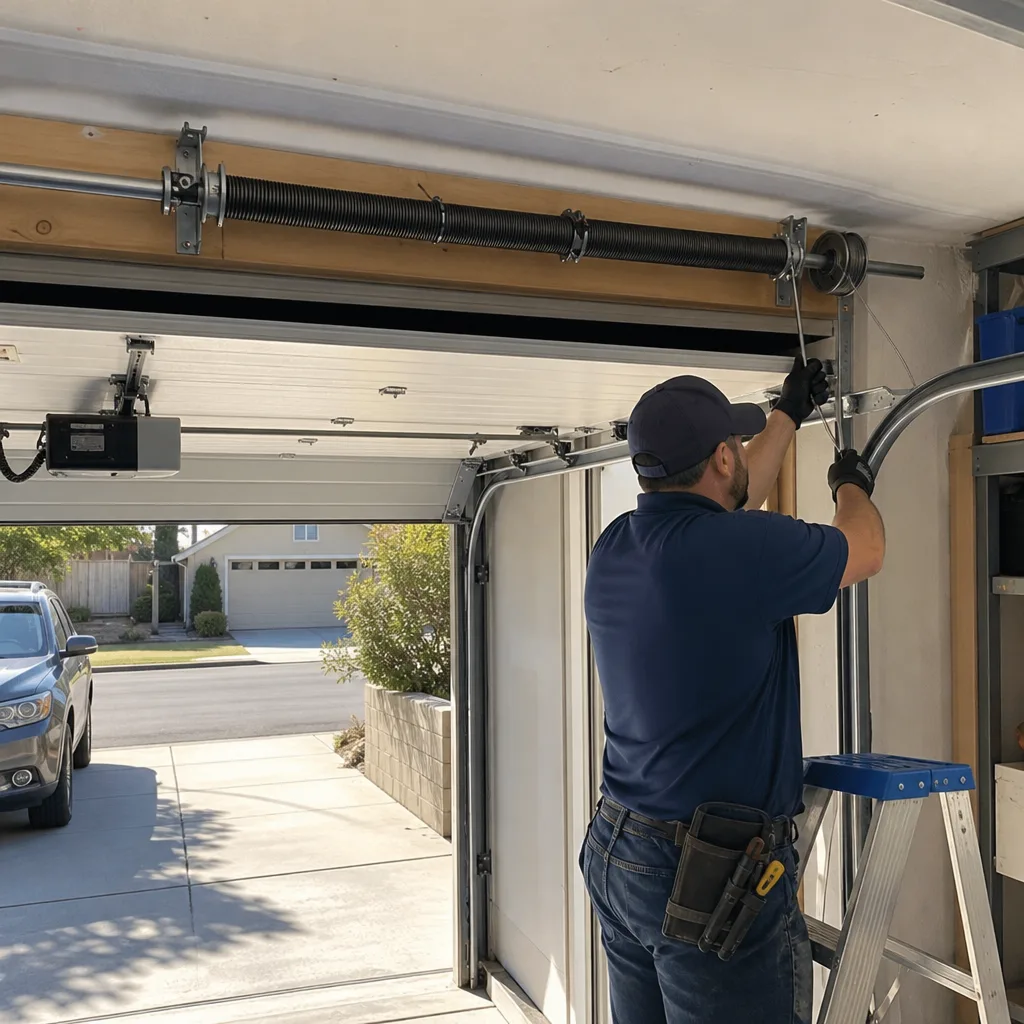 After